To help you get started we will introduce you to the user interface of OUTREACH|IT.
When you open OUTREACH|IT you see the connection window at first:

Here you can log in. After that the OUTREACH|IT dialog appears:
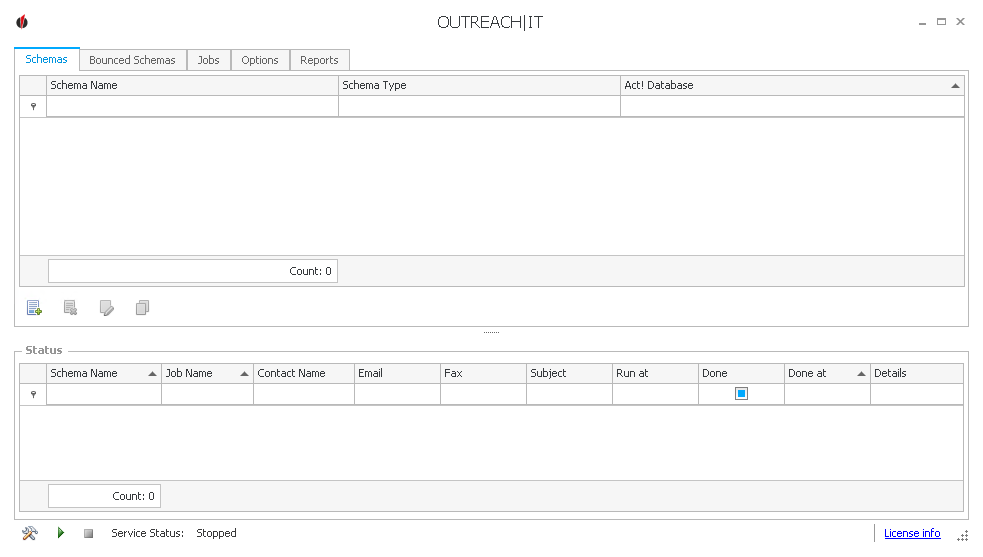
1: In the upper area you can switch between the tabs:
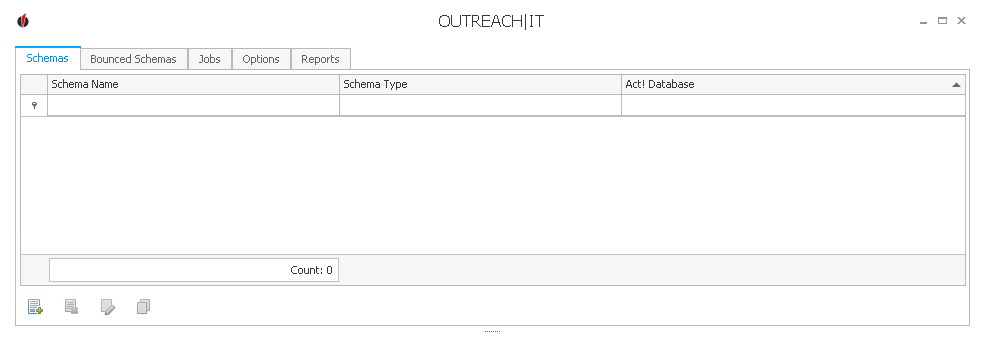
These are schemas, bounced schemas, jobs, options and reports.
2: In the area below you can see the status of the schemas and jobs:

3: The bottom line contains a tool symbol ( ) which forwards you to the local settings. You can find out more about those in the chapters Create user, Connect OUTREACH|IT with Act! and Additional options.
Next to it you have the possibility to manually stop the OUTREACH|IT windows service with the  symbol and to start it with the
  symbol.
What is practical about OUTREACH|IT is that it is run automatically and without manual commands as a windows service in the background. As soon as you have created a schema (what does OUTREACH|IT do?) and a corresponding job (when and how often does OUTREACH|IT execute the schema?) the job will be performed at the times you have chosen.
Make sure that the computer is turned on! No jobs will be performed when the computer is switched off.
With the license info link you get to the licensing.
This was the OUTREACH|IT window's user interface.
