You get to the following dialog via the Local Settings button in the Connection window or via the tool symbol in the OUTREACH|IT itself (see User interface):

Under the Act! databases tab you can change the connected databases.

By clicking on the + symbol you open the following window:
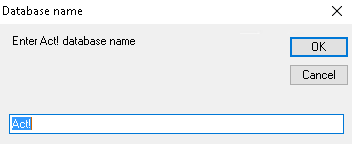
Enter a name for your database and then go OK.

You can now choose the desired database. Click on Open.
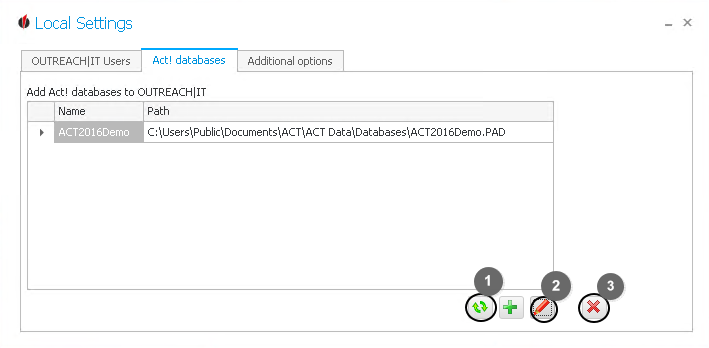
With the  symbol (1) you update the list of Act! databases. When you click on the pencil icon (2) you can edit a database connection.
Here you can choose a different database. Then click on Open.
The changes will be applied.
If you want to delete a database connection, click on the red X (3).
Now you configure the additional options.
