The creation of a new table is only possible in the main database. For that, you need Act! administrator rights.
Open the TABLE|IT table manager as described in Opening TABLE|IT Manager in Act!.
Note: There is also the possibility to create tables with a link to histories or activities in Act!. Please continue reading in the chapters Show history / Show activity or Create a history table / Create a movement/activity table .
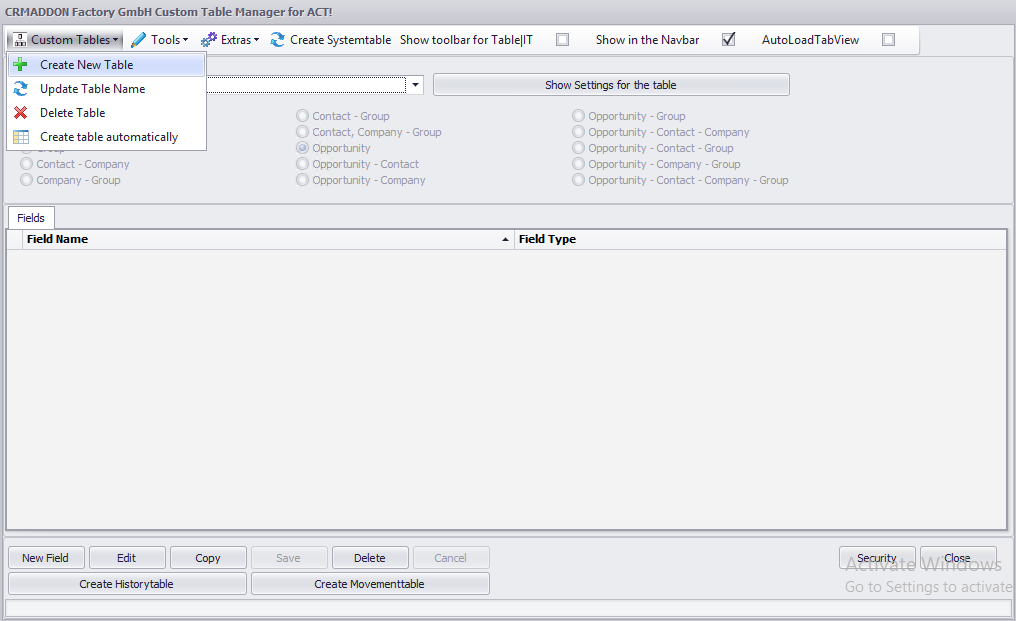
Choose the menu point Custom tables - Create new table.
In the following window you enter a name (1) for the table that should be created.
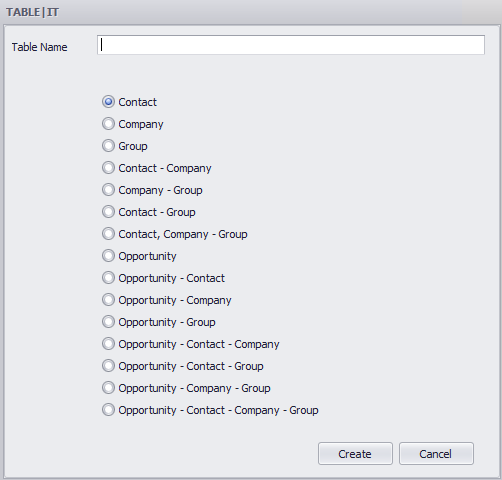
You need to allocate the table to one of the entities listed above (groups, companies, contacts,...) (2).
With this selection the data relation is set. That means you decide which parent records the table entries can be related to (contact, company or group view etc.).
An example: if you choose "contact" the table can only be displayed in the contact view. Data records of this table can only be allocated to contacts.
Click on Create (3).
Please note that the table is only saved in the particular entity. This cannot be changed afterwards.
Next, you need to confirm the creation of the table. Go on OK.
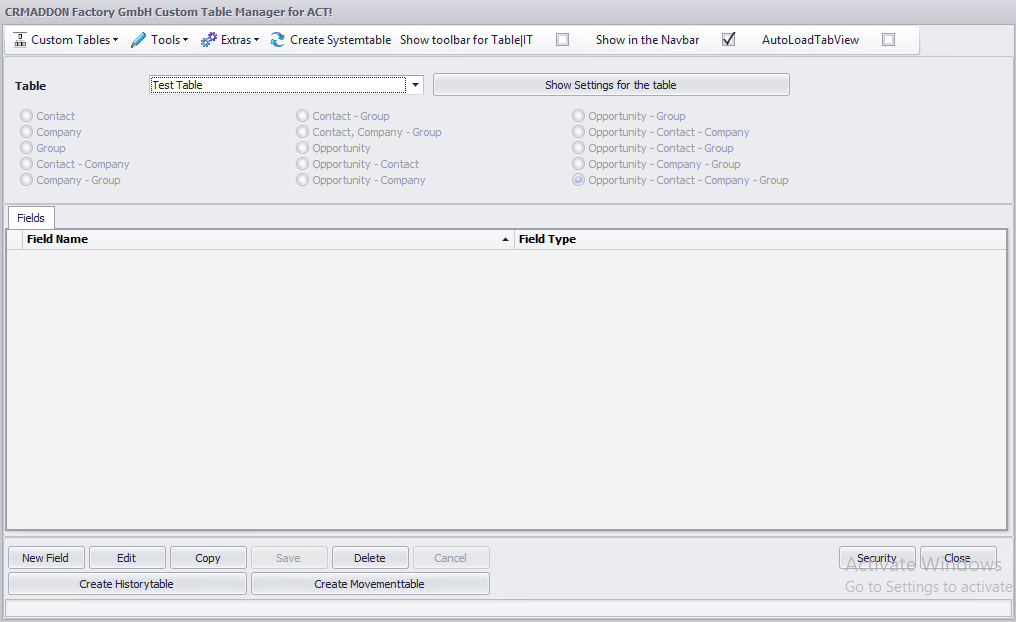
In the following step you create the fields you want and configure them according to your needs.
Among the sub items of the menu point Custom tables is the option Delete table and, if you already have data in the CSV format, the option to create tables automatically.
