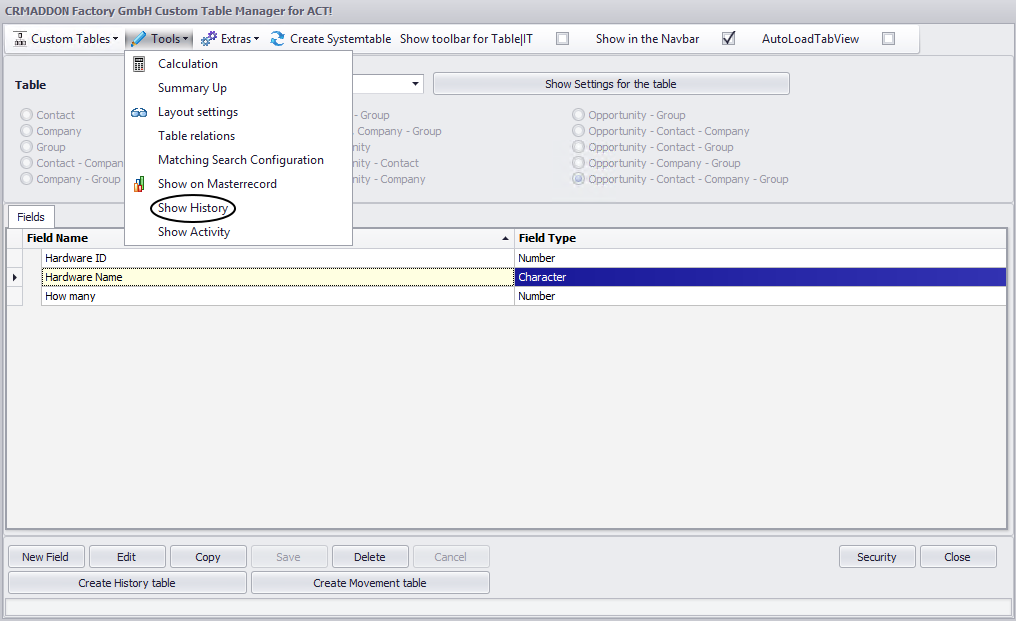
Here you can enable the creation of a history directly from your table. The information of a row in your table will be transferred automatically to the fields of a history when you create it using the table. For TABLE|IT to know which fields of your table should appear in which fields of a history you go on Tools > Show history in the tool bar of the Table Manager:
This dialog will open:

Please choose a table at first. For each table you can define a connection.
Then you pick the table columns whose content will appear in the fields Type, Regarding (Regarding2 and Regarding3 are just additional columns of the table that all contribute to the single Regarding field of a history), Details, Date, Record Manager and Contact.
Please note: For a contact table field to appear in the dropdown list here you need to check two things. The data type Opportunity should not be part of the data types of the table. The table field should be linked to contacts.
After you set everything according to your wishes please click on Save. To close the window you can either go on the door symbol in the lower right corner or on the x in the upper right corner.
When you close the Table Manager and go to where your table is displayed in Act! you will see an additional column called History at the far left of your table now:

When you enter information in a row of your table and click on New this window will appear:
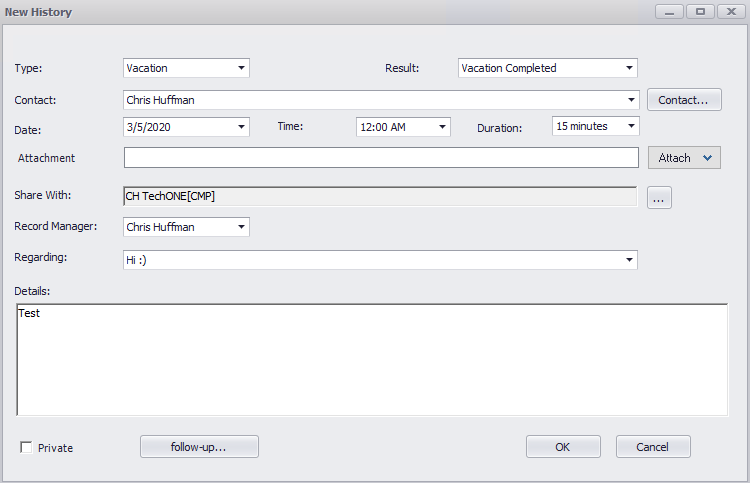
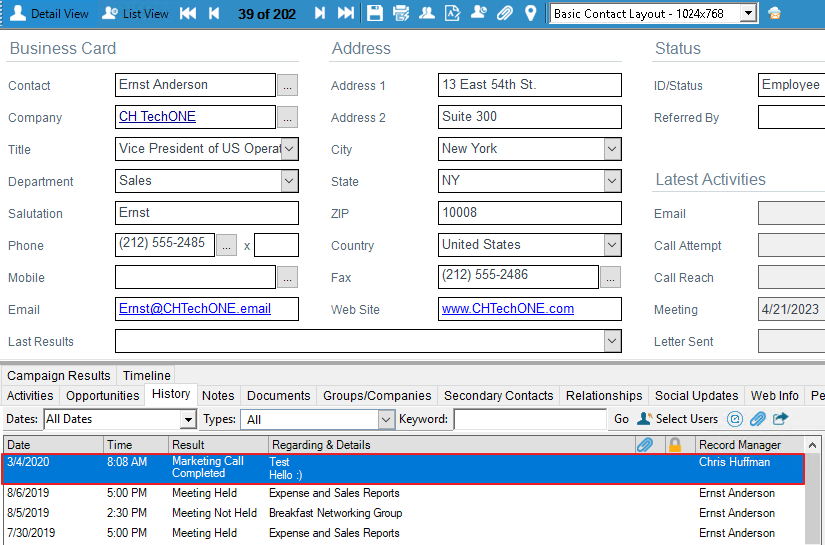
Complete the rest of the history and click on OK. You can now see the history in the list of histories of the contact you have chosen here:
You can also edit a history or delete it after its creation:
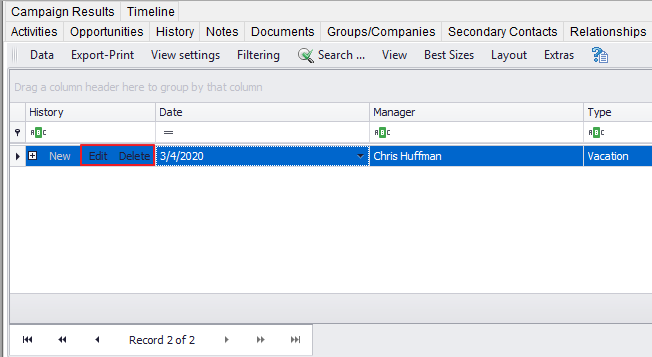
Please note that this way you only delete the history, not the row of your table. You have to do that separately.
