You can create a history table on the basis of an already existing table with all the relevant fields for a history. In a history table you can create a new history for Act! directly from a table record after you enabled that feature using the Table Manager tool bar.
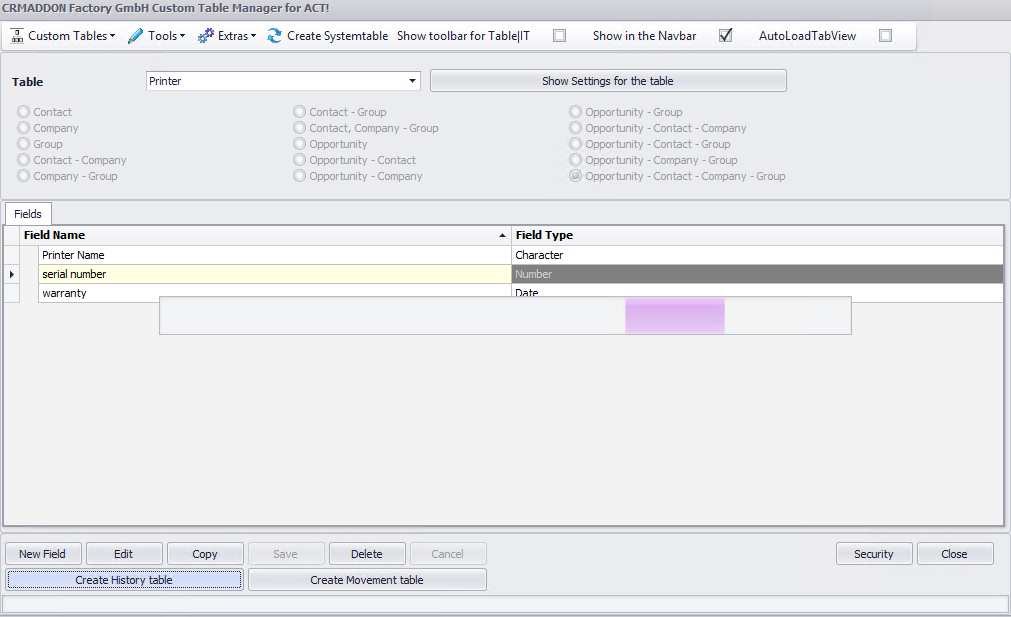
At first, you need to go to the Table Manager for Act!. There you choose the table you want to create a history table from.

After clicking on Create History Table a loading screen appears:
Please wait a while. The new table will be listed with the name TableName_History:

The following fields were created:
Attachment
Details
SendArt (=Type)
SendDatetime (=Date)
SendFrom
SendTo
Subject
When you included the new table in your Act! layout you will see the following:

If there is no history column on the left you need to activate the history connection first. You can read more about how to do that and how to create histories from there in the chapter Show history.

