
The first feature here is the page break. With a click on the symbol you start a new page.
Furthermore, you can insert a table. If you go on the table symbol the following window appears:
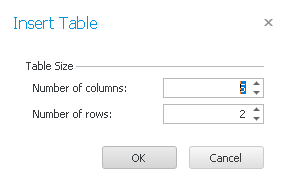
State the number of the columns and rows and click on OK. Your table will be created now. You can also open the dropdown list for the table symbol and move the mouse in a way over the boxes that forms the dimensions of your table:
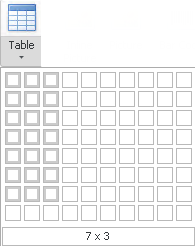
With one click you have your table.
If you want to insert a picture you have two options. If you click on the left symbol you insert the picture into the text. The following window appears:

Look for the picture you want to insert and then click on Open.
If you choose the lower symbol the picture will not be inserted into the text but as a single element that can be moved arbitrarily.
The next symbol in this tab is a bar code. With a click on this symbol you enter a bar code. In order to edit the bar code you go on it and the field tab opens. Here you can adjust the settings.
Furthermore, you have the possibility to insert a check box by clicking on the particular symbol. In order to edit its properties click on the symbol and the field tab appears.
Another feature is inserting a chart. For that, click on the chart symbol. Right click on the chart to run the chart designer so that you can edit the chart.
You can also create a sparkline. Click on the sparkline in order to open the field tab with the settings.
A row index can be created with a click on the particular symbol as well. The editing works with the field tab again.
In order to insert a bookmark place your cursor at the desired spot in the text and then click on the bookmark symbol. The following window appears:
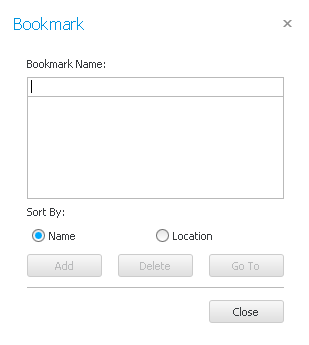
In the top row you type in the name of the bookmark. Choose the name cleverly so that you know immediately where the note will lead you. Now you click on Add and the bookmark appears in the list below. If you want to use a bookmark you select the desired one and click on Go to. The cursor will jump to the correct spot in the document. In order to delete a bookmark again you select it and click on Delete. If you have several bookmarks you can sort them either by name or location for a better overview.
As soon as you have set everything as you wish go on Close.
Aside from a bookmark that is only for you you are also able to insert hyperlinks that lead to either a website, an existing file or a bookmark (place in this document). These hyperlinks can be opened by the recipients of the e-mail. Click on the corresponding symbol to create a hyperlink. The following dialog opens:

For Text to display you enter the text that marks the hyperlink. Then you type in the ScreenTip. It will appear when you move the mouse to the link.
In the end you click on OK.
If you want to switch into editing mode for the header click on the particular symbol. The cursor will now jump to the header and the header and footer tab will appear. Here you can edit the header.
For editing the footer the procedure is the same only that you click on the footer symbol.
Once the editing mode is activated you can insert page numbers into the header and footer by using the Insert tab.
Click on the Close symbol in the header and footer tab to exit the editing mode or double click on the rest of the document.
The second to last feature of the Insert tab is creating a text box. For that, click on the symbol Text box.
Furthermore, you have the possibility to insert special symbols. Click on the corresponding symbol. The following window appears:
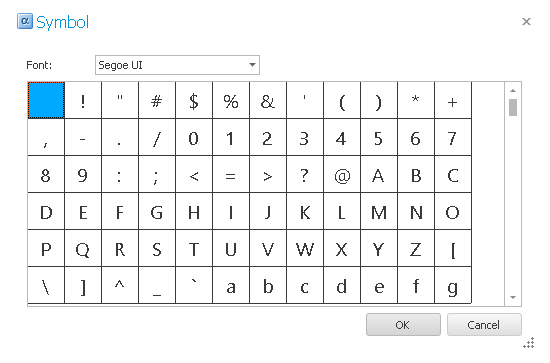
First you choose a font from the dropdown list and then a symbol. Click on OK.
These are all of the features of the Insert tab.
