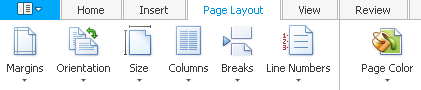
In the page layout tab you have the possibility to change the general look of your document.
If you click on the symbol margins the following list appears:

You can now set the page margins either as Normal, Narrow, Moderate or Wide. It is also possible to create custom page margins. When you click on Custom Margins the following dialog opens:
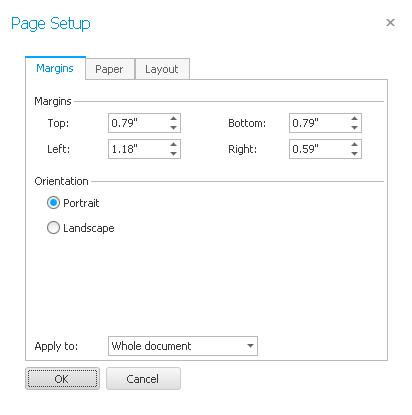
Then enter the width of the margins in inches. You can either use the document in portrait or landscape format.
In this dialog window you have the additional opportunity to adjust more settings in the paper and layout tab. First, you click on the paper tab:

Choose the paper size from the list. The width and height of the document will adjust automatically.
Now you click on the Layout tab.

Here you choose from the list if a paragraph should start continuously or always on a new page. Furthermore, you have the possibility to start a new paragraph on every new page with an even page number or let a new paragraph start on every page with an odd page number.
There are two more features for the header and footer in the document. Either the header and footer of the pages with odd and even page numbers are different from each other or only the header and footer of the first page is different from the other headers and footers in the document.
In the end you click on OK. You can also open this window by clicking on the little arrow next to Page Setup:

The next symbol in the page layout tab is page orientation. If you click on it a dropdown list appears where you can choose whether the document is in portrait or landscape format.
There is also the symbol Size. Click on it and the following list appears:
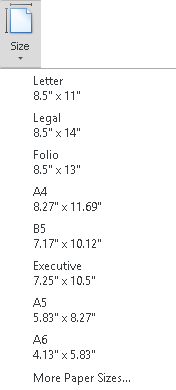
The standard formats are Letter, Legal, Folio, A4, B5, Executive, A5 and A6. With a click on More paper sizes you open the following dialog:
Here you can set, as described above, the paper format you want. Then you go on OK.
In order to create columns click on the particular symbol. A list appears. There you can decide on one, two or three columns. If you click on More columns the following dialog opens:
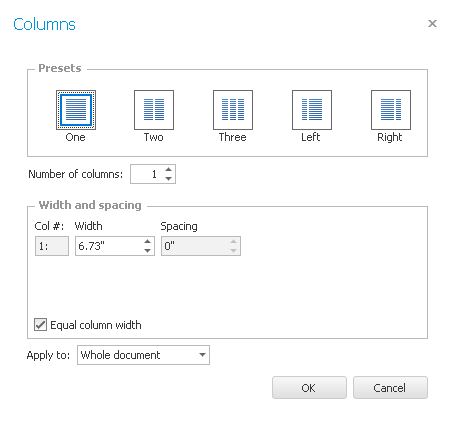
In the presets you have the possibility to create a narrow left or a narrow right column.
Below you can change the number of columns arbitrarily. For every single column you enter the width and the spacing between the individual columns. The column width can be standardized by ticking Equal column width. In the end you click on OK.
In order to create breaks in the document go on the corresponding symbol. The following list appears:
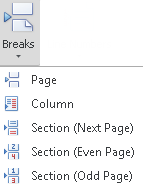
With page and Section (Next Page) a new page starts, with Section (Even page) a new page starts with every even page, with Section (Odd page) a new page starts with every odd page. With column you can create a page break only after the column your cursor is currently placed at.
You can also create row numbers. If you click on the symbol the following list opens:

There is the possibility to create a continuous numbering or to let the numbering start all over again with every new page or section. You can also suppress the line numbering for the current paragraph. If you click on line numbering options the following dialog opens:
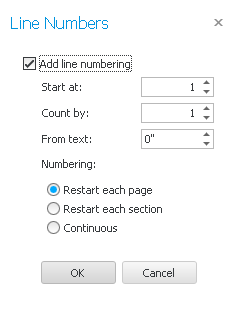
First you tick Add line numbering, then you pick the number the numbering should start with and in which interval should be counted. Now you enter the distance of the numbering to the text (=from text) as well as if it should be continuous or restart each page/each section. In the end you click on OK.
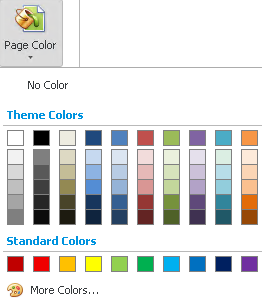
The last feature on the page layout tab is the page color. Click on the symbol and choose whether you want to have a background color or not. If so, decide on one of many theme and standard colors:
If you go on More colors... the following dialog appears:
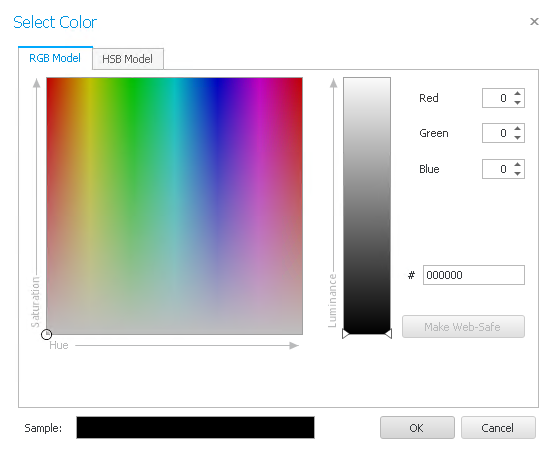
First you click on a spot in the area on the left with a color that you like. Then you also set the luminance of the color with the controller next to it. Optionally you can enter how much red, green and blue your desired color should contain or you type in the color code directly behind the #. Click on Make Web-Safe when you like the color and you want to use it.
In case you would rather work with the HSB color model go on the tab. This is what the dialog looks like now:

Here you first set the Hue with the controller. Then you click on the area on the left to get a color whose saturation and brightness you like. Optionally you can enter the hue, the sat(uration) and the bright(ness) yourself or enter the color code after the #.
Once you are done click on OK.
These were all of the features of the page layout tab.
