
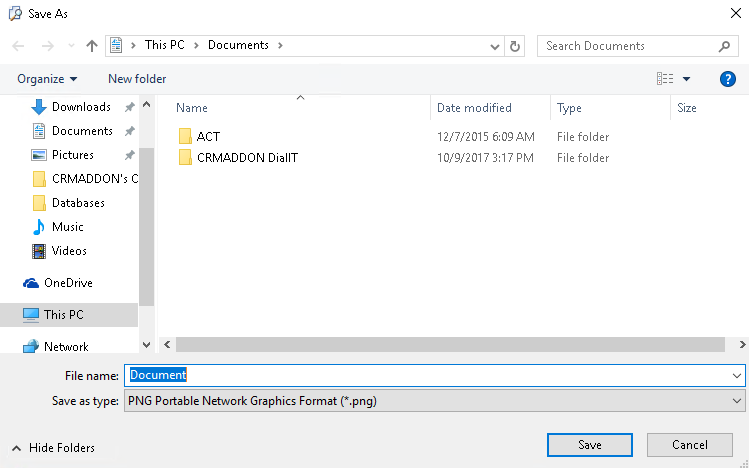
Here you have the possibility to undo certain steps or repeat them. You can also save your template with a click on particular symbol. The following window will always open when you save for the first time:

Enter a descriptive name for your template, choose the storage location and then go on Save. If you want to apply any changes afterwards click on Save again. For changing the storage location in retrospect, you go on Save as. The previous window will appear again and you can change the name and the storage location of the template.
Export your template to different file formats next to the standard format .snx. With a click on the symbol the following window opens:
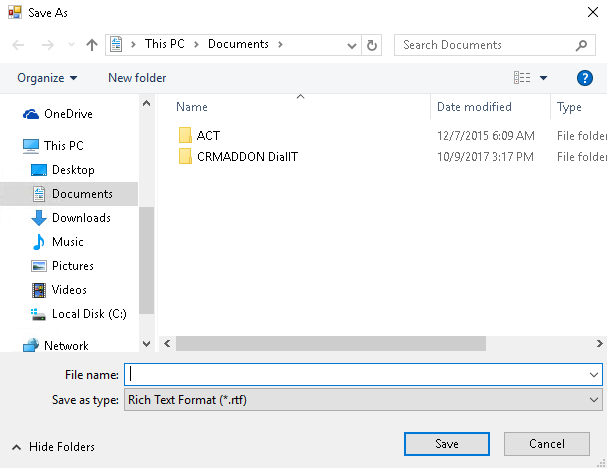
Now you choose from the file types .rtf, .txt, .htm, .html, .mht, .docx, .odt, .xml, .epub, .doc and .pdf.
It would be the best if you gave the export the same name as the saved template so that you will recognize it later on. Then click on Save.
You can print out your template as well by clicking on Print. The following window opens:
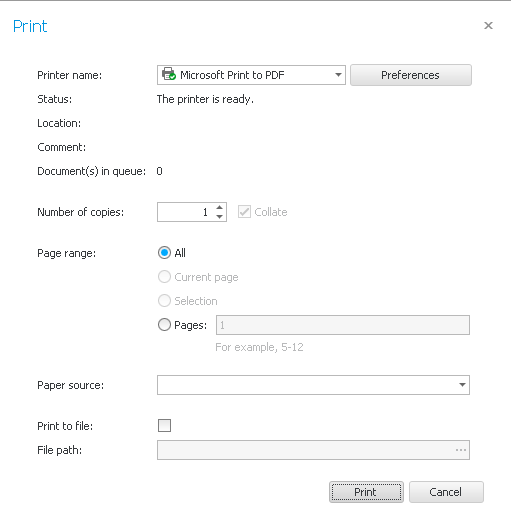
Here you first choose a printer from the list. Then you click on the Preferences button and choose the orientation in this window:
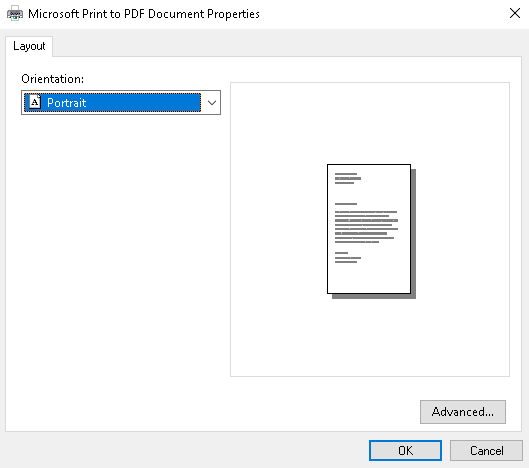
With a click on Advanced you get to the following dialog:
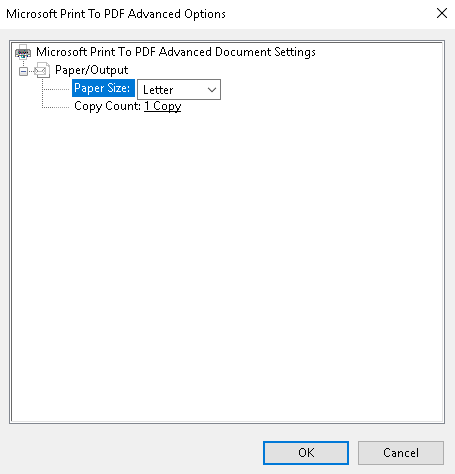
Here you can adjust more settings according to the printer, for example the size of the paper. In the end you click on OK twice in order to get to the printer settings from the beginning.
Now you choose the page range that should be printed as well as the number of copies. Depending on the printer there are also different kinds of paper feed.
If you want to save your print file tick Print to file and go on the three dots ... next to File path. The following window opens:
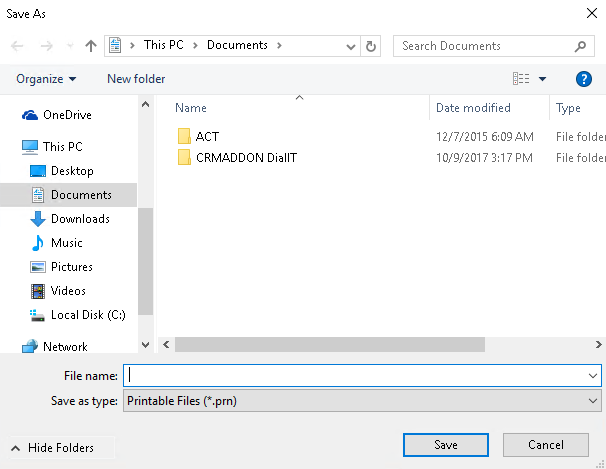
Enter a descriptive name for your print file and click on Save.
Now you go on Print.
If you want to print with your default printer and the presets you can go on Quick Print.
The report designer also offers a Print Preview where you can see the document like it will be printed in the end.
Click on it and the following window will open:
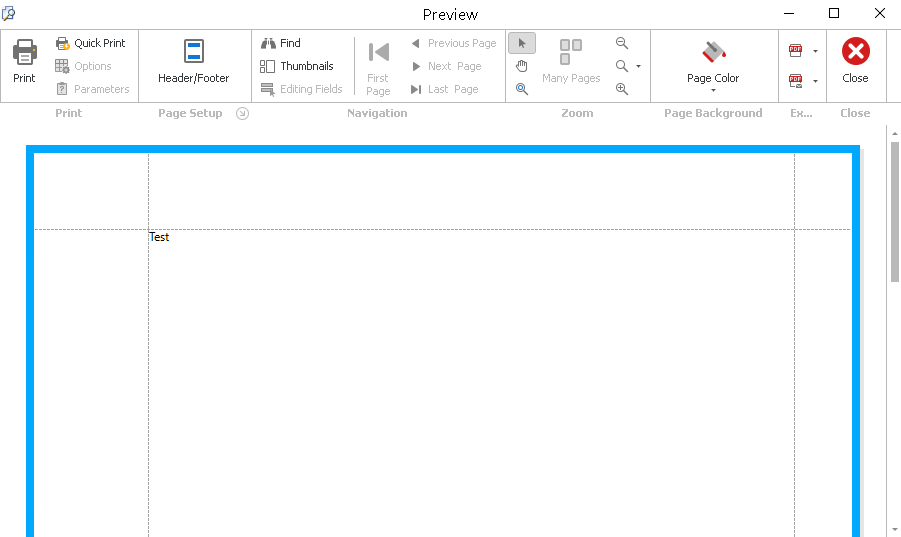
When you made sure that the document will printed like you imagined you can either click on Print or Quick Print.
You are able to change the printing options in the print preview with a click on Options or you type in the Parameters for a report. You also have the possibility to change the header and/or footer. If you click on Header / Footer the following window will open:
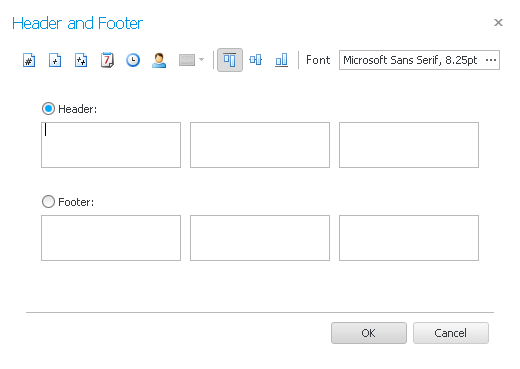
Here it is possible to insert page numbers, the print date or the print time, the Act! user name or the picture. You can also state the orientation of the writing and the font. In the end, you click on OK.
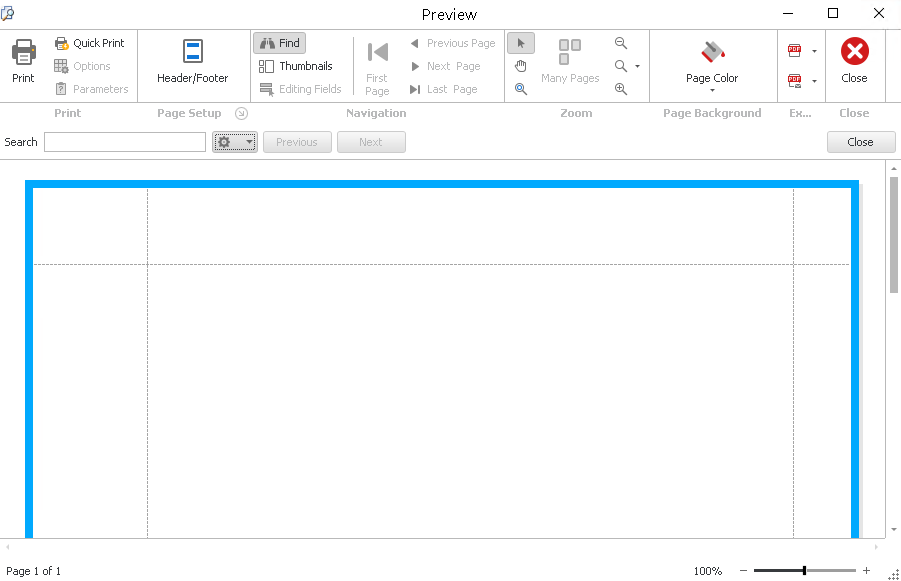
Another feature of the print preview is that you can look for words in the document. This is helpful if you want to check if the document contains certain information. When you click on Find the following bar appears:
Click on the  symbol.
For the search you can choose Case sensitivity, or to look for whole words only. Click on Next when you want to run the search. OUTREACH|IT will then highlight the particular words. Once you have found what you were looking for you go on Close.
You can also switch between the pages in the print preview with the navigation symbols.
Another feature is the zoom or the selection of a cursor. You can either zoom out of or in the section you are seeing right now, or you can pick a zoom directly. With the hand cursor you can move the pages with the mouse, with the magnifying glass you zoom in or out of the document with just one click.
In the end you could choose the page color if you want a colored background.
You also have the possibility to export the document as a .pdf or a picture file and attach it to an e-mail.
If you decided on a pdf export the following window will appear:

First you type in the page range that should be exported. Then you enter which fonts should not be embedded.
Embedding fonts is important for printing. OUTREACH|IT will embed the fonts for you automatically if you do not enter anything here.
Furthermore, you can choose whether or not all of the pictures in the document should be converted into the .jpg format and the quality of the pictures after the export.
You also have the possibility to apply the norm PDF/A-2b.
There is also the opportunity to set up a password. Click on the three dots ... behind the password security field. The following dialog will open:
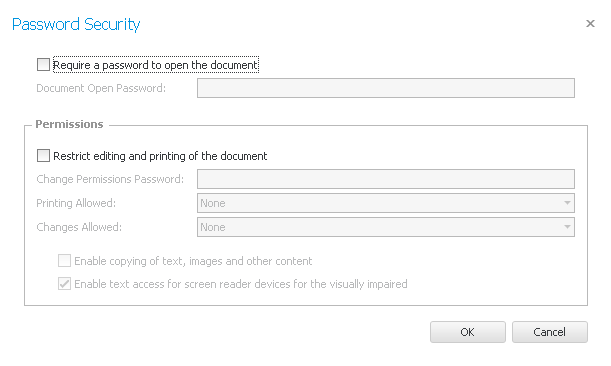
First you tick Require a password to open the document, then you type in the desired password behind Document Open Password. By ticking Restrict editing and printing of the document you can edit the authorizations. In the end you go on OK.
You can also insert a digital signature into the pdf document. For that, you click on the three dots ..., enter the data and click on OK again.
Then you enter the author, the application, keywords, the subject and the title and go on OK. The following window opens:
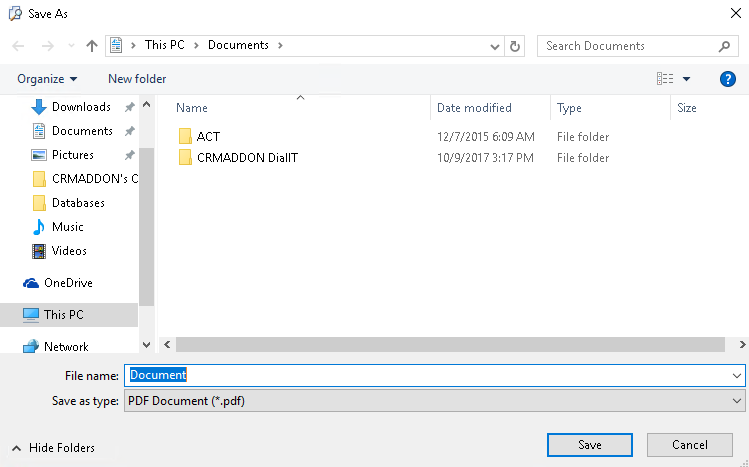
Enter a descriptive name for the document, choose the storage locations and click on Save.
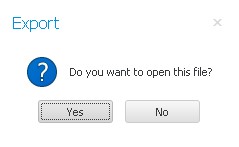
You will now be asked if you want to open the file or not. In the end you get back to the print preview.
Another option is the export to picture files. Here you can choose from a variety of formats. First you open the dropdown list of the pdf document symbol. There you click on image file. The following dialog appears:
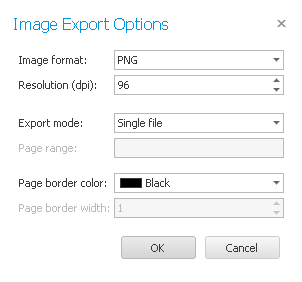
First you choose the format. You can decide between .bmp, .emf, .wmf, .gif, .jpeg, .png and .tiff. Then you enter the resolution in dpi. You can either export the picture file as a single file, as several different files or as a single file page-by-page. For several different files and the single file page-by-page you enter the page range, the page border color and the page border width. Then you click on OK. The following dialog will open:
Enter a descriptive name for the picture file, choose the storage location and then click on Save.
You will now be asked if you want to open the file or not. In the end you will get back to the print preview again.
Aside from the simple export you can also choose an export with dispatch of the file as the attachment of an e-mail. For that you follow the steps listed above. In the end an e-mail template with the exported file appears in Microsoft Outlook if you have set it up previously. Now you just need to send the e-mail.
These were the functions of the print preview of the report designer.
In the Home tab you find the clipboard after the print options. You can cut out or copy the selected text or paste texts from the clipboard into the document.
You can also change the font size and color and many more settings.
The paragraph area gives you the opportunity to format your text precisely, for example with lists and text alignment.
For styles you can choose format templates if you want to.
With a click on the binoculars symbol you can look for certain words in a text. The following window appears:
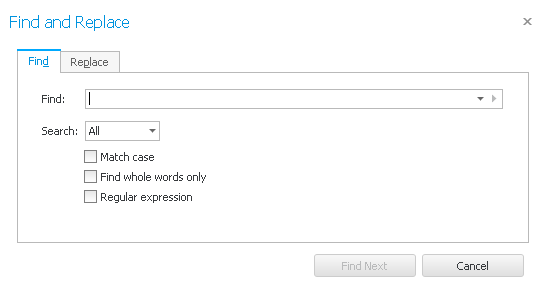
Enter the search word, then pick from the list below whether you want to search only upward, only downward or in both directions for this string in the document. You can tick Match case or choose to only display expressions that appear in the document entirely (find whole words only). Now click on Find Next. Click on this button as often as needed to find what you were looking for. In the end you go on Cancel.
The last symbol  in the Home tab will lead you to the Replace function.
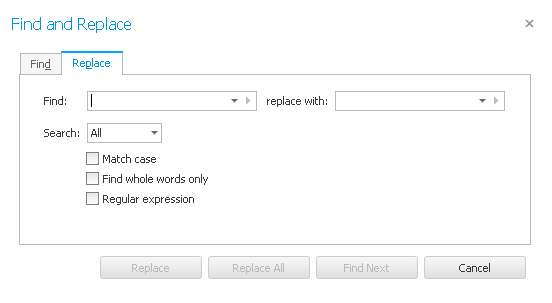
For Find you enter the expression that should be replaced and for Replace with you type in the text that should replace the old one.
In the list below you choose to either search for the string upward, downward or in both directions in the document. You can tick Match case and have the possibility to let only expressions show that appear in the document entirely (Find whole words only). Now go on Find Next. If the expression found is the one you want to replace you click on Replace. If you are already sure that you want to replace all of the expressions of this type then you can go on Replace all. At the end of this process OUTREACH|IT will inform you how many expressions could be found and replaced:
Click on OK. In the end you go on Cancel. These are all the functions of the Home tab.
