Automatically allocate the results from Act! Marketing Automation to contacts in your Act! database.

Once you have set the task type Marketing campaign result synchronizer you click on Next.
You will get to the schedule options. Continue reading in the Trigger Time / Trigger Task chapter to find out how to proceed.
Click on Next.
The following window will open:
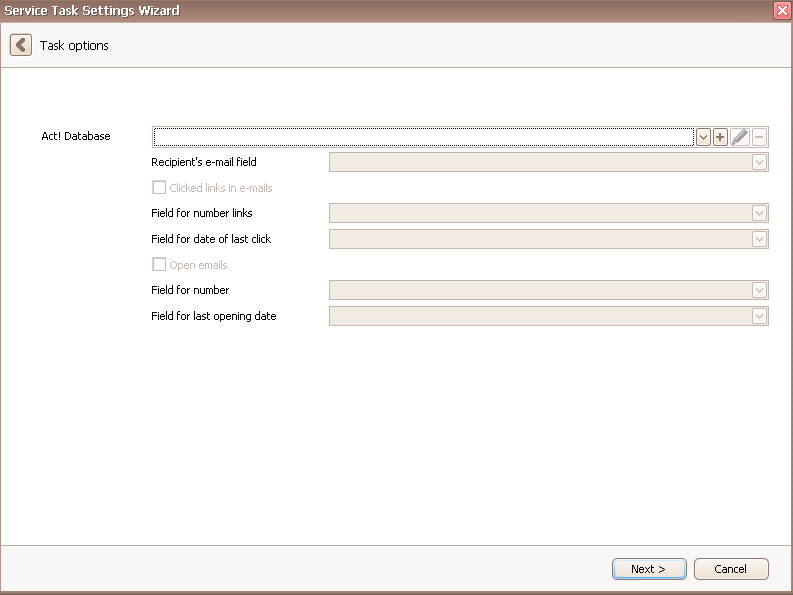
At first you choose an Act! database. You can read more about that in the chapter Connect DATA|SUITE with Act!.
Then you enter the recipient's e-mail field. That is the field in Act! that contains the e-mail addresses for your marketing campaign.
You can also import information about clicked links in your e-mails. If you tick Clicked links in e-mails you have the possibility to choose a field for the number of links as well as a field for the date of the last click.
Furthermore you are able to display information about opened e-mails in your Act! database. Tick Open emails to enable this option. Then you can select a field for the number of opened e-mails as well as a field for the last opening date.
In the end you go on Next.

Click on Finish. You created a task to synchronize your marketing campaign results with Act!.
