Your database contains import data for your company. You can always perform a backup.
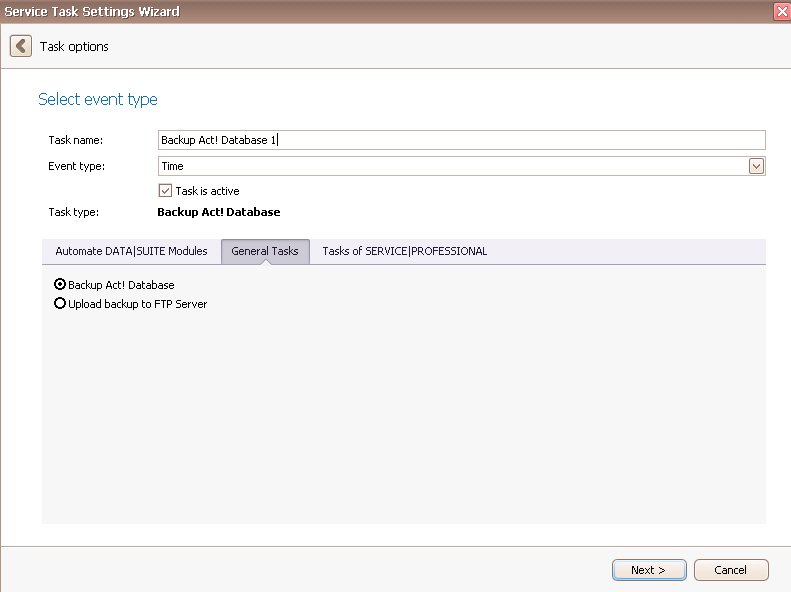
Once you have set the task type Backup Act! Database you click on Next.
You will get to the schedule options. Continue reading in the Trigger Time / Trigger Task chapter to find out how to proceed.
Click on Next.
The following window will open:
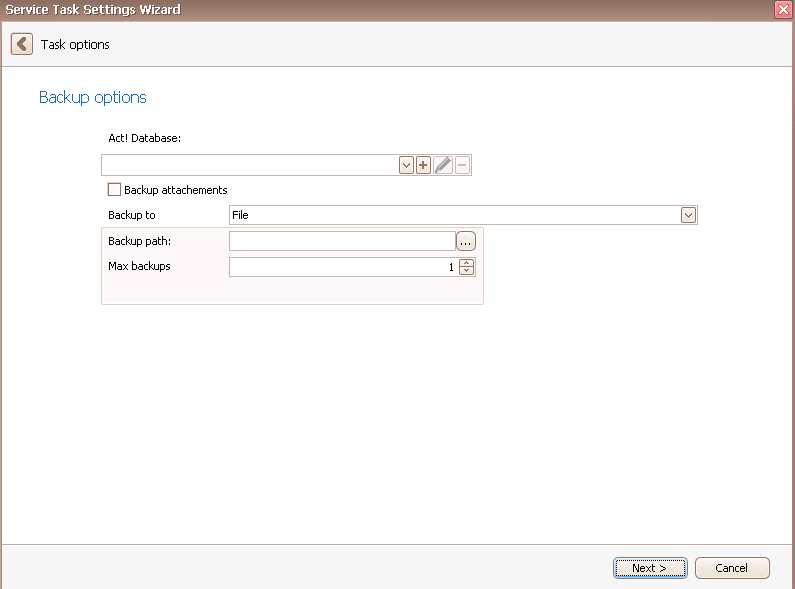
First you choose a database. You can read about how that works in the chapter Connect DATA|SUITE with Act!.
You can also backup the attachments.
The backup can be saved either as a file or to an FTP Server.
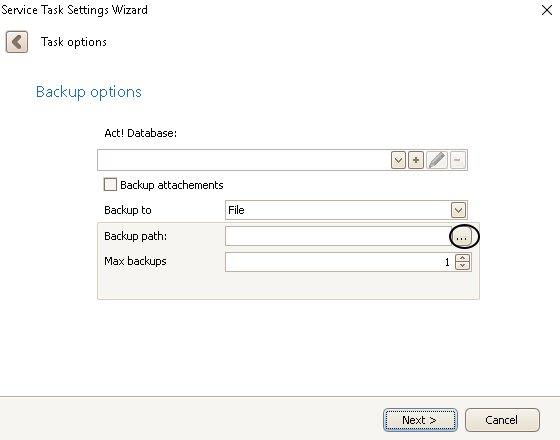
If you want to save your backup to a file choose the Backup path first by clicking on the three dots... :
The following window will appear:
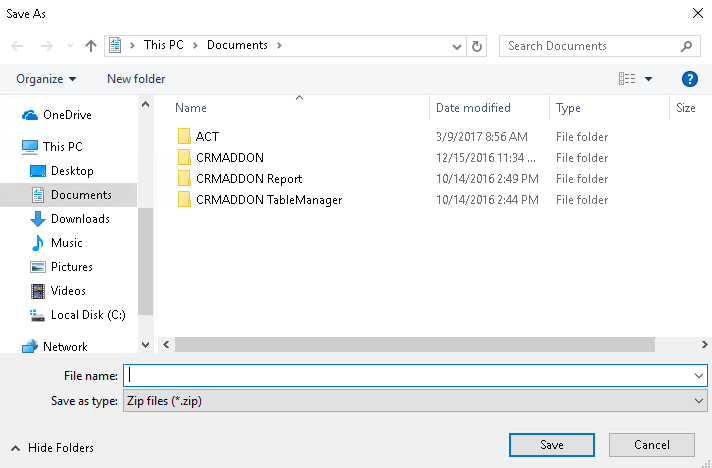
Enter a descriptive name for your backup and choose the storage location. In the end, you click on Save.
You can also set a maximum number of backup files.
Click on Next.
If you want to save the backup on an FTP Server the settings look like this:

You have to connect SERVICE|IT with your FTP account. Click on the + and the following dialog appears:
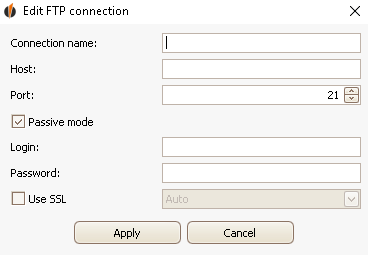
Now you enter your connection name, the host, the port and your login data. You can decide whether you want to use SSL or not. From the dropdown list you can pick an SSL type. Instead of the default active mode you can also set the Passive mode. If you have any questions about these details please ask your IT employee.
Click on Apply.
After that you enter the Remote path and choose the Maximum number of backup files.
Click on Verify FTP. If the verification was successful, click on Next.
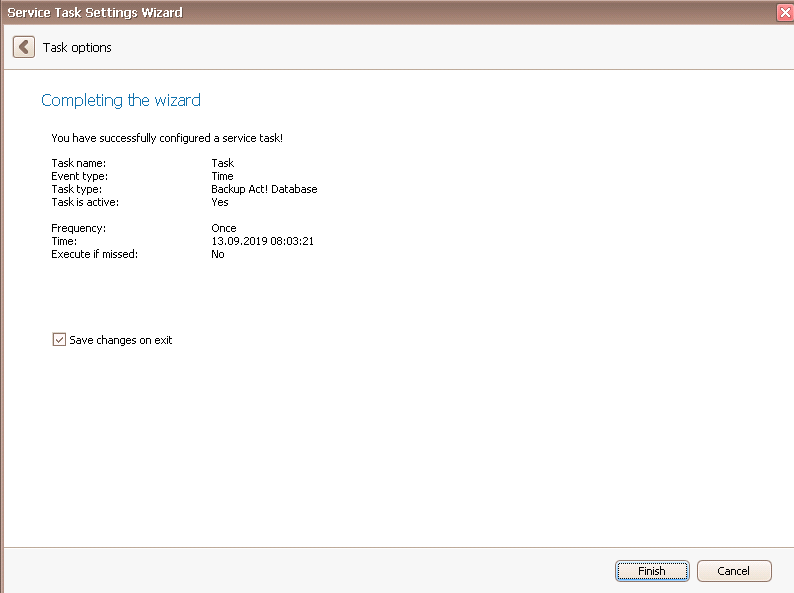
Tick Save changes on exit and click on Finish.
You created a task for making a backup of your Act! database.