You are able to add all of the e-mails that were sent to or written by an Act! contact to the history of the customer.
EMAIL|IT directly monitors the mail boxes on your mail server. This means that EMAIL|IT needs to be set up using POP3 or IMAP. For some mail servers, for example Microsoft Exchange, this needs to be activated at first.
We advise you to create a multidrop mailbox where a copy of all of the e-mails ends up. Most of the mail servers have the option to drop a copy of all of the incoming and outgoing e-mails into a mailbox. This can be regulated using BCC, for example.
If no multidrop mailbox is created all of the mailboxes you want to monitor have to be integrated in EMAIL|IT individually.
We also offer the possibility to delete the e-mails from the mailbox after they were processed. If an e-mail could not be attached a configured time window needs to lapse before the e-mail is allowed to be deleted from the server.
That way you still have enough time to react to e-mails that could not be attached and to eventually update the e-mail addresses in Act!. During the first run of the day EMAIL|IT tries to process e-mails that have not been attached so far until the time window lapses.
Furthermore, you can get a report about all of the e-mails that were not attached. This report will be sent to every Act! user once a day, if activated. There, all of the attached and not attached e-mails are listed in two tables.
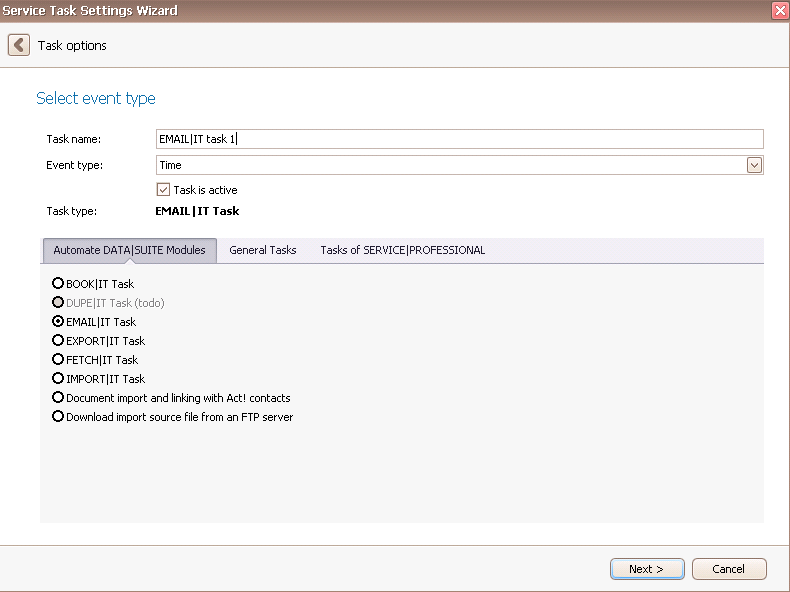
Once you have set the task type EMAIL|IT task you click on Next.
You will get to the schedule options. Continue reading in the Trigger Time / Trigger Task chapter to find out how to proceed.
Click on Next.
The following window will open:

You are now in the processing options. In the tab General Settings you choose a Mail connection at first. When you click on the + the following window appears:

First you enter a descriptive name for the e-mail connection. Then you choose a server type, type in the mail server and port and decide on a security type. In the end you enter your login and password. By clicking on the Check connection button in the lower part of the window you create a connection to your mail server. After that was successful you are able to pick a mailbox and decide whether or not you want to delete messages from the server. If some of them should be deleted you have the possibility to delete all mails that are attached or to delete a certain number of the mails that are not attached. In the end you go on OK.
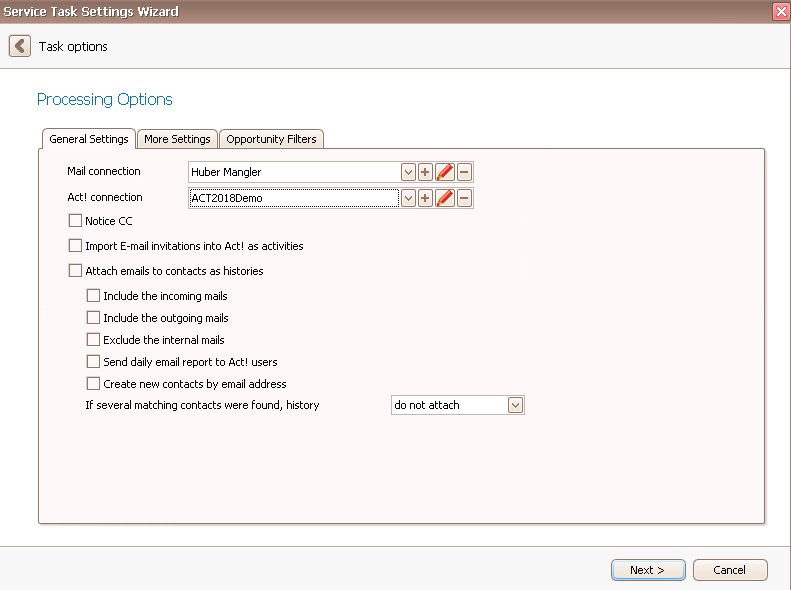
In the Processing Options dialog you choose an Act! connection now. You can read more about it in the chapter Connect DATA|SUITE with Act!.
You have the possibility to note the e-mails from CC (notice CC) and to import e-mail invitations into Act! as activities. Furthermore you can attach e-mails to contacts as histories. For this option the incoming e-mails are available as well as the outgoing e-mails. You also have the possibility to exclude the internal e-mails. You can send a daily e-mail report to Act! users or create new contacts by e-mail addresses, as well. If several matching contacts were found the history is either not attached or attached to all of them.
In the More Settings tab you can see the following:
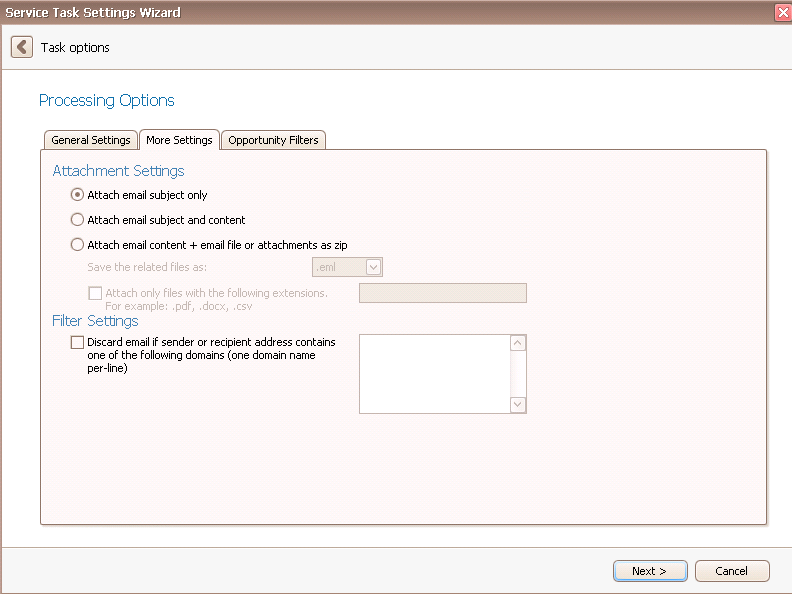
Here you can find settings for the attachments. You can either attach the e-mail subject only, attach the e-mail subject and content or attach the e-mail content and e-mail file or attachments as zip. For the last option you have to decide whether you want to save the related files as .eml-file or as .zip-file. If you chose .zip you have the possibility to only attach files with certain types of extensions that were chosen by you, for example .pdf, .docx or .csv. Enter them accordingly.
Under Filter Settings you have the possibility to discard an e-mail if the sender or recipient address contains one of the domains you have entered. Please make sure that you only enter one domain per line.
Opportunity filters
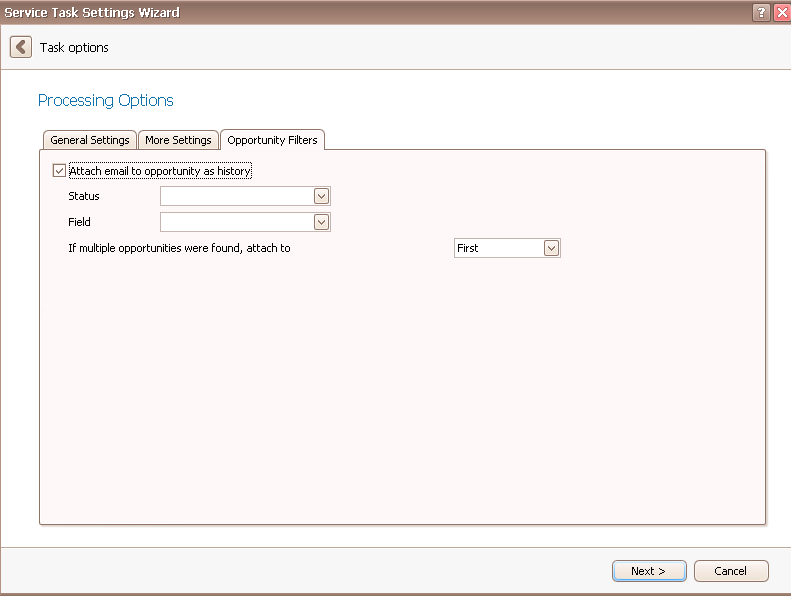
If you have chosen the option Attach emails to contacts as histories and then ticked either Include the incoming mails or Exclude the outgoing mails you are able to choose the option Attach email to opportunity as history. Using Status and Field you can tell EMAIL|IT which e-mails should be attached. When an e-mail is checked the program looks at the subject of the e-mail if it can find the value of the field of the opportunity you entered here. With the option Status you limit the number of opportunities taken into account. In case you picked Open as a status only those opportunities will be checked that have that status. In case the value of the field you have chosen is part of the subject of the e-mail the e-mail will be attached to the particular opportunity as a history.
If multiple opportunities were found you can choose to either attach the e-mail to the first opportunity that was found, to all of them or to none at all.
Once you are done with these settings click on Next.
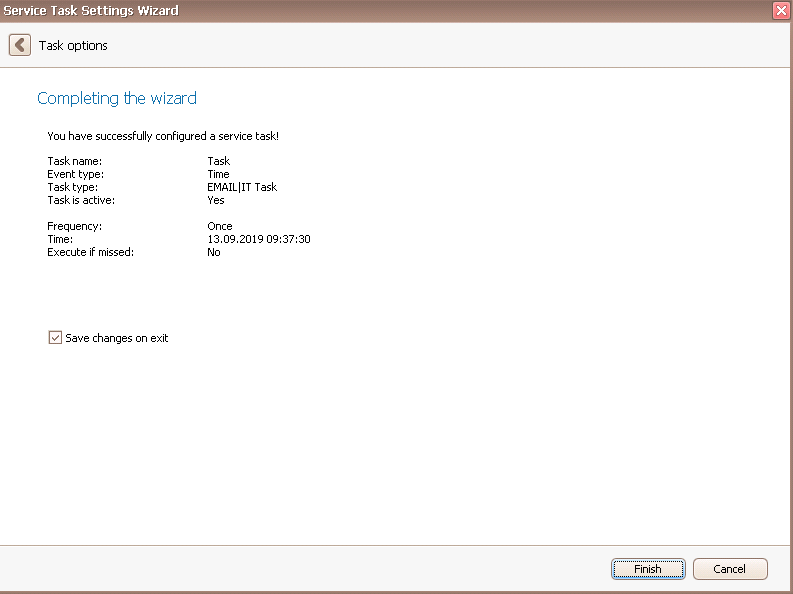
In the end you go on Finish. You created an EMAIL|IT task!
