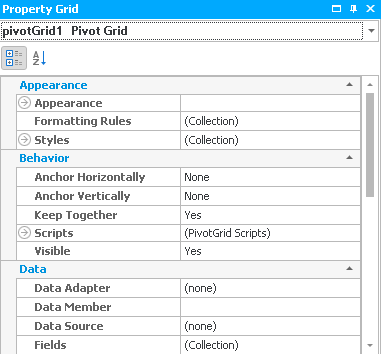
First, you click on the arrow in front of Appearance.
Then you go on the arrow in front of field value. The following explanations can be explained to all of the appearance sub points, not only to the field value.
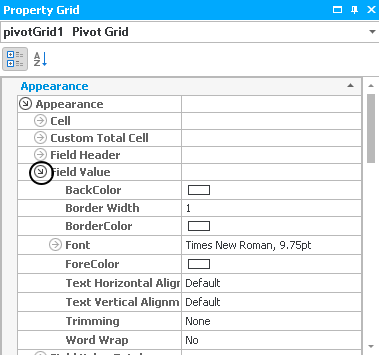
First, you open the dropdown list for Border Color and choose a color. Then you pick a BackColor. Now you enter the Text Horizontal Alignment, for example "center".
Click on the arrow in front of Font and the following list appears:
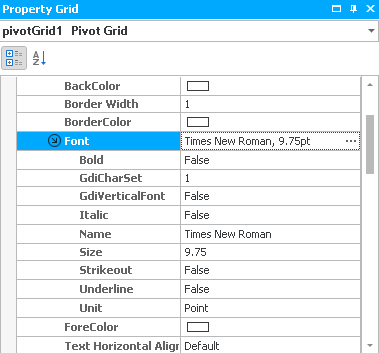
First you click in the row Font and on the three dots ... . The following window appears:
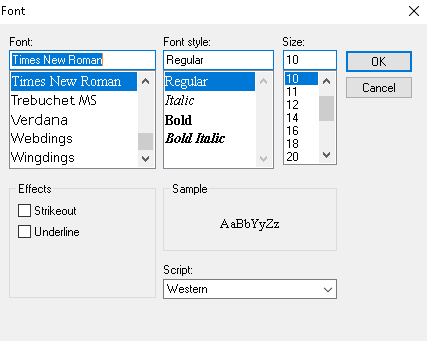
Here you have the possibility to edit the font, the font style, the size, the effects and the script. Then click on OK.
In the settings below you can choose whether the text should be stroken out, underlined, bold or in italics. You can also state the font size and the font name.
Now you set the Text Vertical Alignment and the ForeColor.
The explanations for the formatting rules and styles can be found in the chapter Text Element. You assign the styles to individual fields of the pivot grid by opening a list of options with a click on the arrow in front of styles.
This was the section Apppearance. In the section Data you can pick either Activities or Contacts for Data Member. For Data Source you enter dataSet1 which is the Act! connection. You have the possibility to add new fields to the table by clicking on the three dots behind Fields. The following dialog appears:
