
First you choose which data source you use for the Mail Merge tab, for example the contact or activity fields from Act!. Click on the particular symbol and then on the desired data source. You are also able to choose None.
All of the data sources you select here can be added to your e-mail later on.
You also have the possibility to apply a filter to the contents of the fields you insert. This can be useful if you only want to address all of your customers, not all of your contacts in Act!, for example. If you click on the Filter symbol, the following symbol appears:
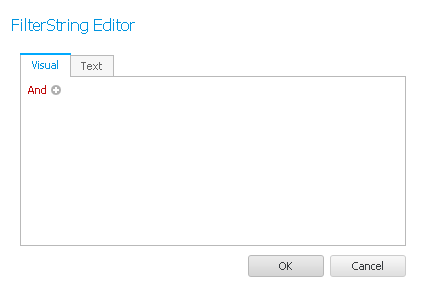
If you know something about coding you can just click on the text tab and enter the desired filter.
Under the tab visual, however, you can easily create a filter. First you click on the "+" behind the and:
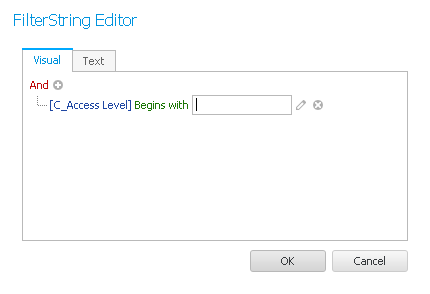
Then you click on the words in blue.
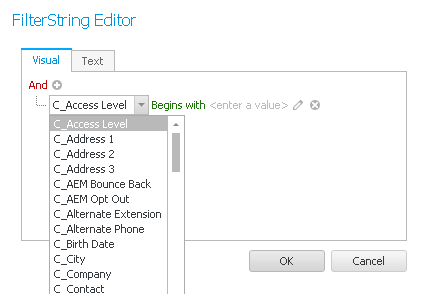
Choose a field from the list the filter should apply to. Then you go on the green lettering:
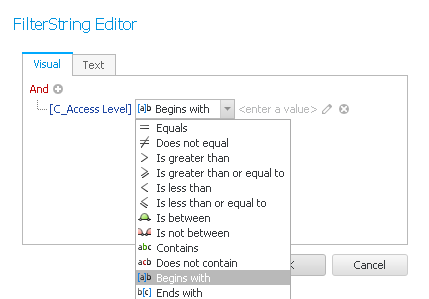
Next, you choose the Operator for your filter, meaning the condition that should apply to this field.
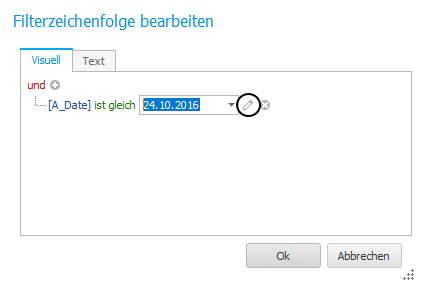
Now you click on Enter a value. Depending on the field type you enter a date, a time, a number, a character string or true/false.
The pen symbol makes it possible to compare the value of the first field with the value of another field instead of a fixed value that you entered yourself:
With the X next to the row you can delete the filter condition. You add new ones with the + next to the and. Once you created the filter completely click on OK.
The next symbol is Sort. With that you can sort all of the fields in your template. If you click on the symbol the following dialog appears:
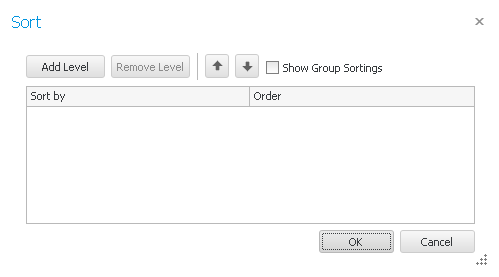
If you go on Add level a new row appears in the table below. First you click on the small arrow in the left field in order to open the dropdown list. Choose the desired field you want to sort. Now you state whether you want to sort in ascending or descending order. You can also delete a level again by clicking on Remove level. With the arrow buttons you arrange the sorting options differently. There is also the possibility to show group sortings (see Field tab).
In the area Current data record you can switch between the individual data records by clicking on the respective arrows.
The option Finish & Merge enables the export, the print and the print preview of your document. You can read about how to use this feature in the Home tab.
These were all of the symbols of the Mail Merge tab.
