With SERVICE|IT you can split your attachment directory in Act! into sub folders. This prevents Act! from running slow when having saved a huge amount of documents.

Once you have set the task type Splitting attachment folders in subfolders you click on Next.
You will get to the schedule options. Continue reading in the Trigger Time / Trigger Task chapter to find out how to proceed.
Click on Next.
The following window will open:

First, you choose a database. You can read about how that works in the chapter Connect DATA|SUITE with Act!.
Tick Split attachments if you want to split those up even further.
For Max attachments in folder you set the number of documents that should be saved in such a sub folder. We advise you to take 1000 here.
You are able to save all of the documents in a backup folder. Click on the three dots ... . A window will open:

Click on the folder you want to save your backup in. You can create your own folder, as well. Click on OK.
You have the possibility to delete non existing attachments as well as "dead" links and old attachments (for that choose at which point in time those attachments were created). You can cut long file names and rename files that are locked for editing by Windows, too.
The option Delete missed attachments deletes all of the attachments that don't have a parent record.
If you want to create a report you can click on the Create report button. The following window appears:

Enter a descriptive name for the report and choose the save directory. Then you click on Save. The report will be opened now:
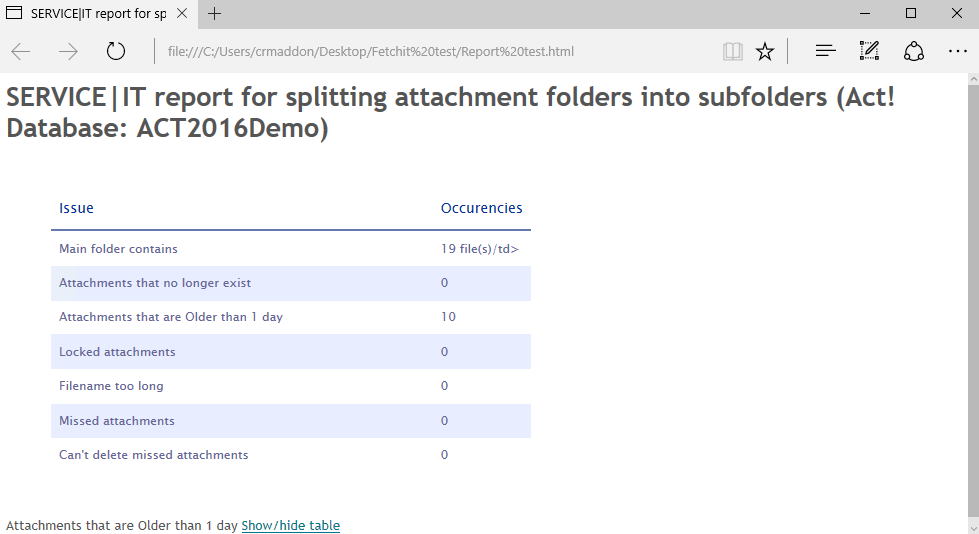
After you have read the report go back to the task settings dialog.
Click on Next.

Here you can see the settings. After ticking Save changes on exit you click on Finish.
You created a task for Splitting the document directory!
