You should be here:
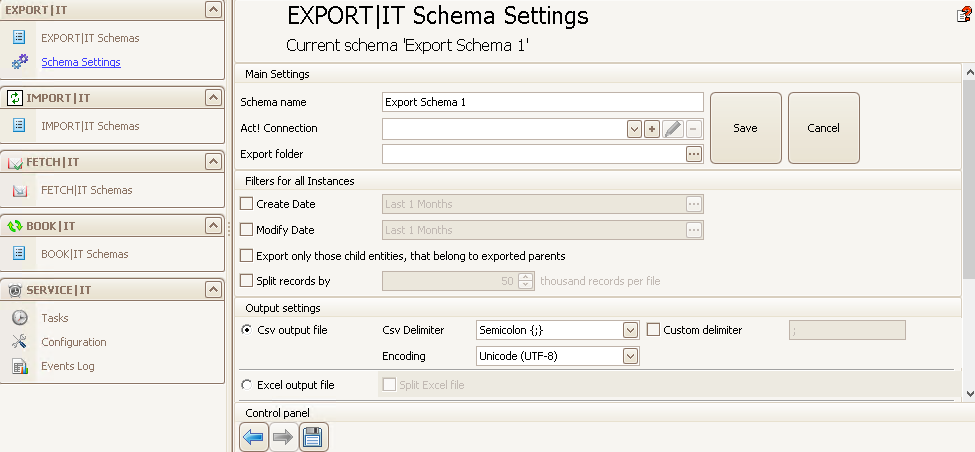
First you give the schema a name under Schema name. Then you choose from which database data records should be exported. With the arrow button you can pick a database that has already been connected. With + you are able to add a new database (see Connect DATA|SUITE with Act!). By clicking on the three dots behind the Export folder field you get to the following window:
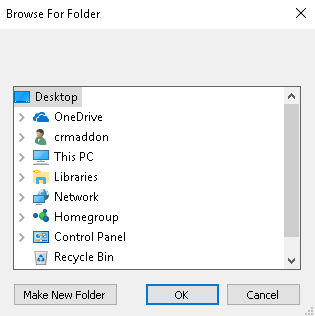
Choose the storage location for the export files. Click on OK, when you have marked the storage location.

As soon as you have completed the Main Settings you can save the new schema.
Under Filters for all instances you can see the instances and your selection of fields when you save the schema.
Next you will edit the Filter options.