Regularly import data records in Act!.

Once you have set the task type IMPORT|IT task you click on Next.
You will get to the schedule options. Continue reading in the Trigger Time / Trigger Task chapter to find out how to proceed.
Click on Next.
The following window will open:
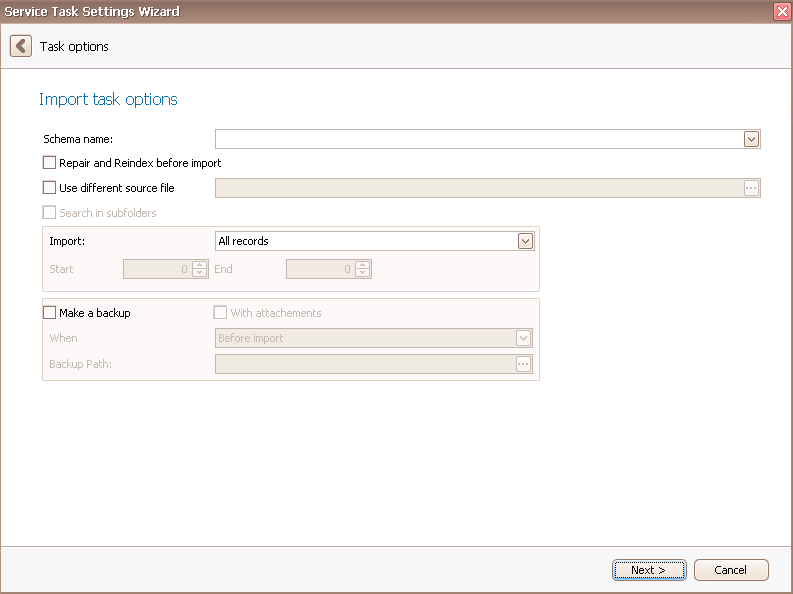
Firstly you choose the IMPORT|IT schema you want to automate. Before every import you can repair and re-index the database.
There is the possibility to use a different source file than the one in the IMPORT|IT schema you chose. You can even search in sub folders.
You can restrict the import by picking Selected records in the Import section:
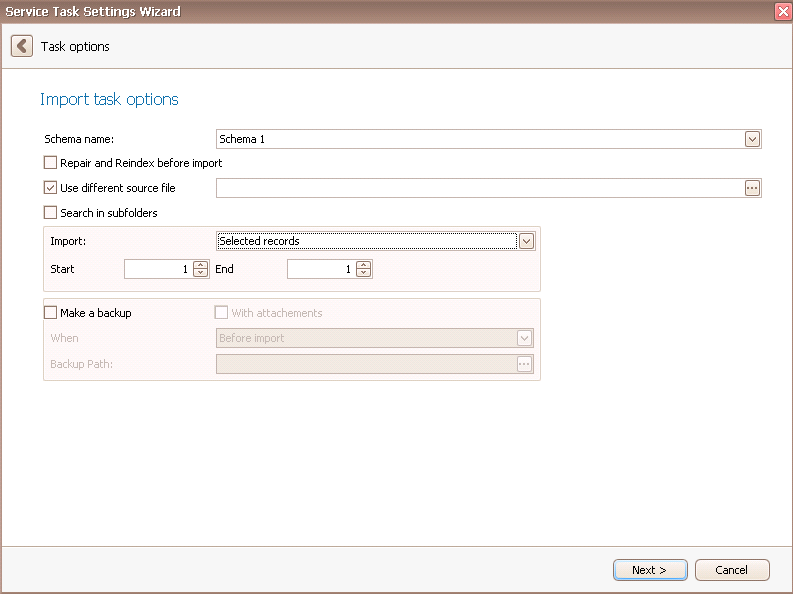
Now you need to enter the number of the data record the import should start with as well as the number of the data record the import should end with.
Here you can also make a backup. You can decide whether to proceed with attachments or without them. For When you choose whether the backup should be performed before the import, after the import or without the import.
The backup folder is created automatically for you and can be found in your documents.
Click on Next.
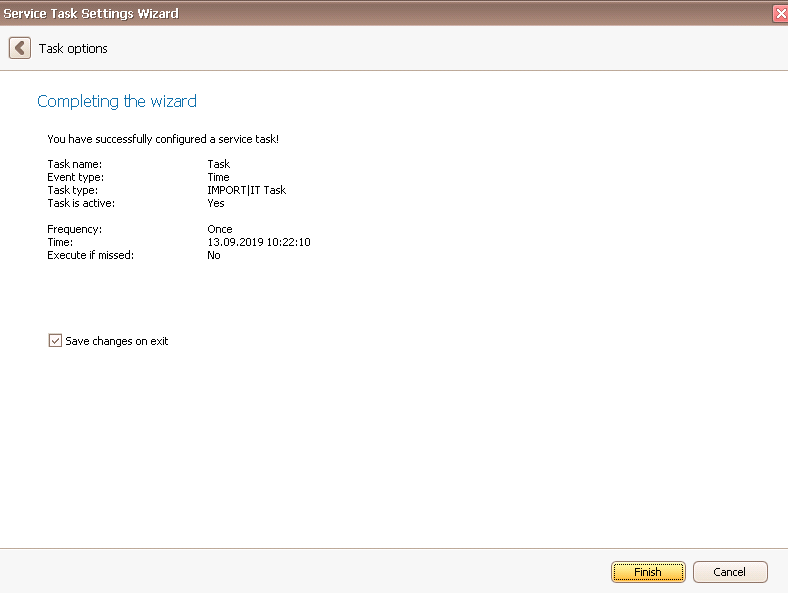
In the end you go on Finish. You created a task for the automated import!
