Under Definitions of the instances you can find information about what instances are and what types of instances there are.
After choosing the output settings you are able to edit the instances now. For that you click - after saving everything - either on the right arrow button in the lower bar (1) or on Instance Settings in the navigation bar (2). You can also click on the More details (3) button.
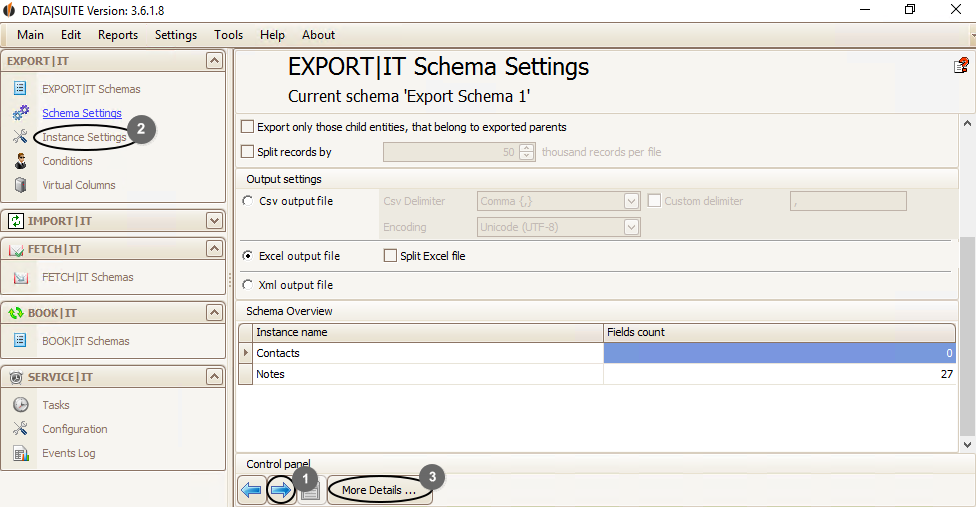
The following should appear in the main window:

On the left hand side you can see the list of all your instances. You can add or remove instances whenever you want by clicking on the Add/remove instances button. The following window will open:

With the buttons > and < you move the single instances. With the buttons >> and << you can bring all the instances from one side to the other. To get the instances into a different order, select one of them and click on ^ or v.
When exporting notes from Act! you can also export the names of the contact or the company the note was created for as well as the name of the user who created the note.
In case you need more information about the contact or the company belonging to the note this export needs to be run as an extra instance. It is important that you export your data as a CSV file.
You are then able to join the CSV files with our tool, available from IMPORT|IT Advanced.
After joining you can change the file format of the export. In How to: Open a CSV file with Excel you find an example for how to save the file as an Excel file.
When you are done, click on the red X in the right upper corner. The changes will be saved automatically.
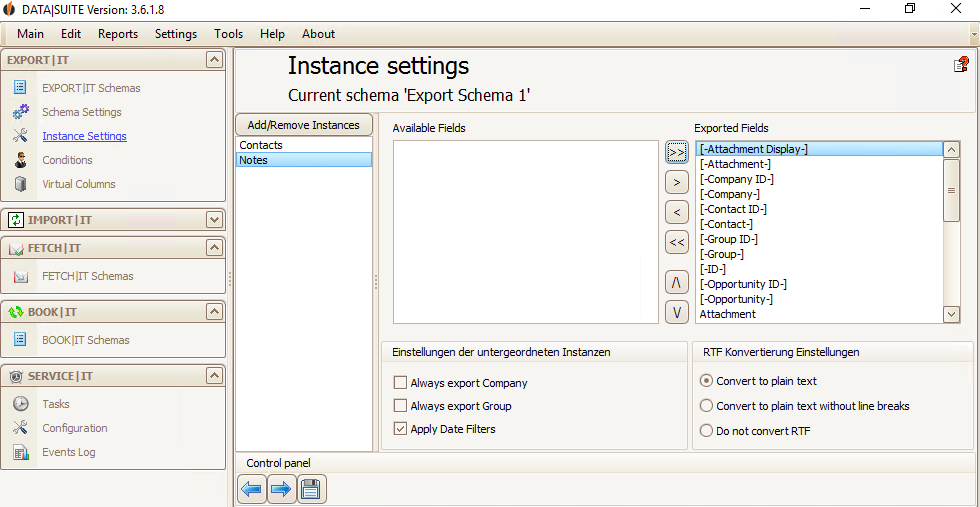
You can now choose the fields that should be exported for every instance with the help of the arrow buttons.
Additional to the choice of fields there are more settings. These are different, depending on the instance you are looking at.
Contacts and opportunities can become child entities.

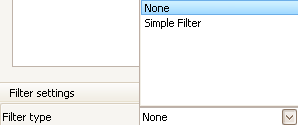
Companies, Groups, Opportunities and Contacts have a filter. First you click on Simple Filter in the Filter type dropdown list.
After that you are able to choose which field you want to set a filter for:
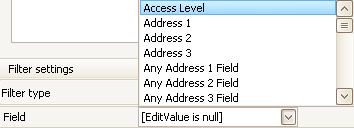
Finally you enter the value of the field. Only those fields will be exported that have this value.

For contacts you can set a Group filter, as well. That means that you only export those contacts that are in the groups you have chosen. Click on the three dots:

The following window will open:
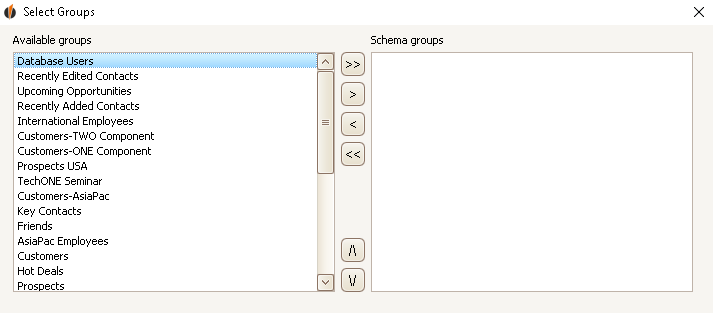
With the buttons > and < you can move single groups you have selected and with the buttons >> and << you move all groups from one side to the other. With ^ and v you can change the groups' positions.
As soon as you are done, click on the X in the upper right corner.
Histories have a Type filter.

Click on the three dots. The following window will open:
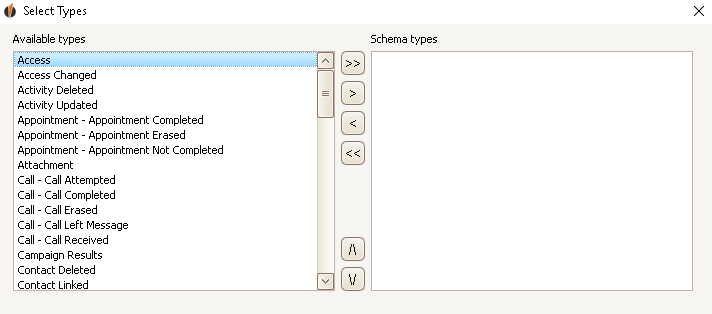
With the help of the arrow buttons you can choose which types of histories you want to export.
Notes, Histories and Activities are child entities. For those there are special settings available.

If you tick Apply Date Filter the date filter you have set previously will also be applied on this child entity.
If you always Export the Company or Group the superordinate instances, namely the company and group, will be exported, too.
The RTF converting settings determine whether the formatting (colored/bold/italic lettering, line breaks,...) will be taken over. Please click on Do not convert RTF then. If you don't want to take over the formatting except the line breaks, click on Convert to plain text without line breaks. You can also not take over the formatting at all by choosing Convert to plain text .
For the rest of the instances there are no further settings available.
Under Definitions of the Instances you can read about the definitions of the data record types.