
At first, you have to create an SMTP connection, which is a connection to your e-mail account. If you already created one you just open the dropdown list with the  symbol and click on the particular one. There is also the possibility to delete existing connections with a click on the
  symbol after selecting it from the list. Otherwise you can go on the
  symbol to create a new connection.You are also able to edit existing connections via the
  symbol.
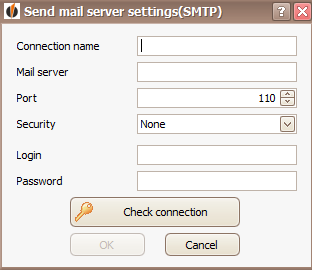
At first, you enter a connection name, which will help you to recognize what e-mail address this is. After that you enter the mail server as well as the port and the type of encryption under Security. You can find this information on specific websites when you search for the name of your e-mail provider together with the term "SMTP". Alternatively there is always the possibility to ask your IT support staff.
Next, you enter the e-mail address under Login and the Password. Then you click on Check connection. If you were able to successfully create a connection the following window appears:

Click on OK and in the "Send mail server settings (SMTP)" window you click on OK again. Now you are able to fin your e-mail connection in the dropdown list.

After that you enter which e-mail address the reply should go to and which name should appear. There is the possibility to send the e-mail in CC to other people as well. Just enter the particular e-mail addresses with a semi colon or a space in between.
Next, you choose the field of the contacts which are connected with the opportunity that contains the e-mail address your e-mail should be sent to, for example to the private or business e-mail address. You move the field to the right side by clicking on the blue arrow.

After that you enter the subject of your e-mail. Then you choose an e-mail template or create a new one by clicking on the  symbol. If you do this, the following window will appear:
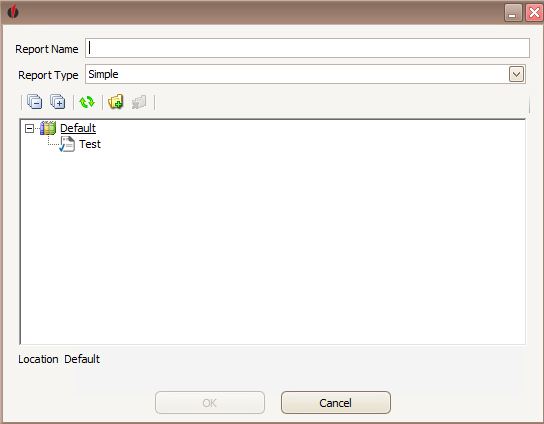
At first, yo enter the name for your report template and choose the report type. You can pick between Simple (easier to use, but has less features) and Professional (a bit more advanced, but has a lot of features). In case you have a folder structure for your reports (a new folder can be created with a click on the  symbol) you choose a folder where your report is to be saved. In the end you click on OK.
After you waited for a moment, the following dialog appears:
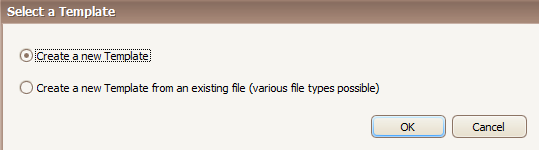
You have the possibility to either create a new template or to create a new template from an existing one. Once you have chosenan option you click on OK.
When creating a new template, you will directly get to the report designer. When creating a template from an existing file you will be asked to pick a file first.
You can read about how to create an e-mail template with the report designer in the report designer manual.
Next, you save the template and close the report designer. Now you can choose the template you created.
After that you have the possibility to add an attachment. Click on the  symbol to open a window where you can pick your attachment. Choose the file for the e-mail and click on Open. You will now see the name of your file next to Attachment.
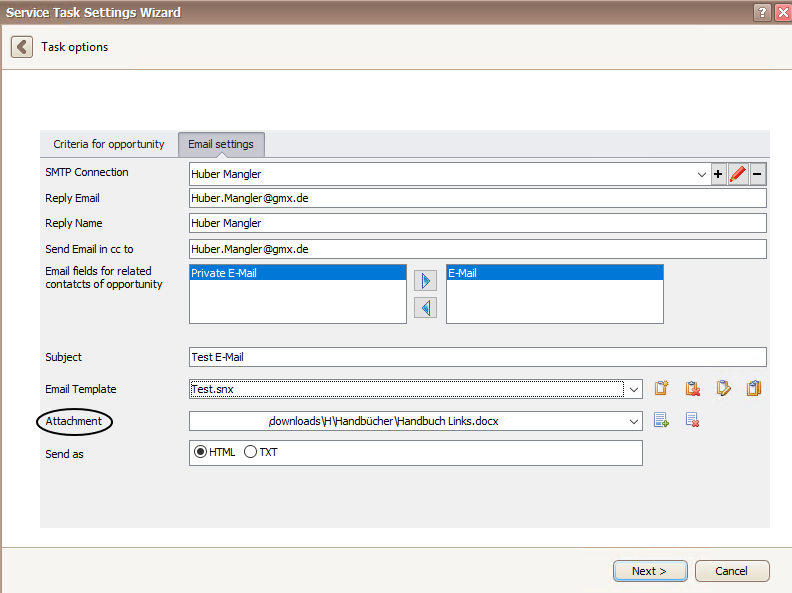
In the end you decide on the format the e-mail should be sent in. You can either choose the TXT version that uses only unformatted text without pictures or choose HTML which includes links, pictures, different fonts, etc.
Once you set everything according to your wishes you click on Next. Continue reading in the Observe opportunity and send e-mail chapter.
