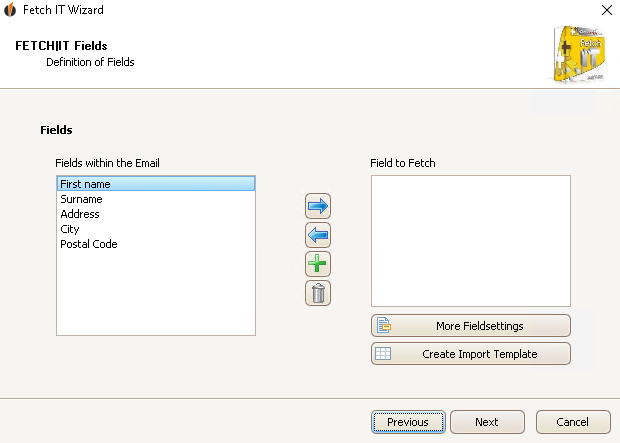
With the help of the arrow buttons you move around the fields. The fields you want to read out and then import in Act! should be in the area Field to fetch.
With the trash bin icon you move a selected field to the left area. When you select a field and then click on More field settings the following window appears:
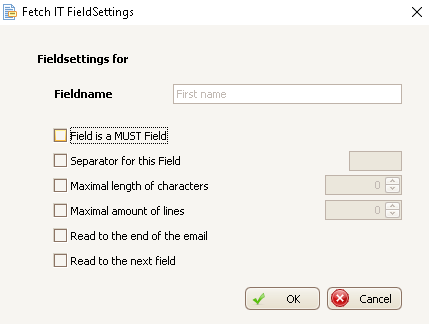
If you want, you can set this field as a "must" field. You can also pick an individual separator for this field. There is the possibility to choose a maximal length of characters and a maximal amount of lines, as well. You are able to either read to the end of the e-mail or to the next field. Once you have set everything according to your wishes you can click on OK.
You will get back to the field definition window again.
When you click on Create import template an Excel file opens in which you will find information from the e-mail:
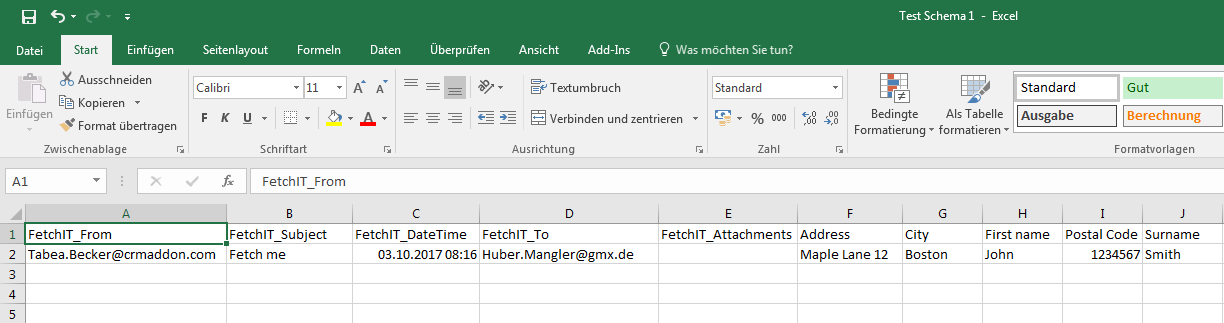
If you do not have Microsoft Excel on your computer the file will open in the text editor application.
Here you can see what information FETCH|IT took from the e-mail. This is a .csv-file and saved in your Save settings for e-mails folder.
Now you close the .csv-file and click on Next.
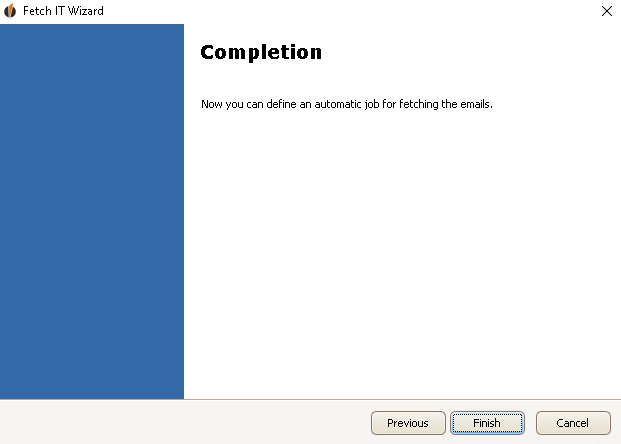
You created your FETCH|IT schema successfully! Click on Finish.
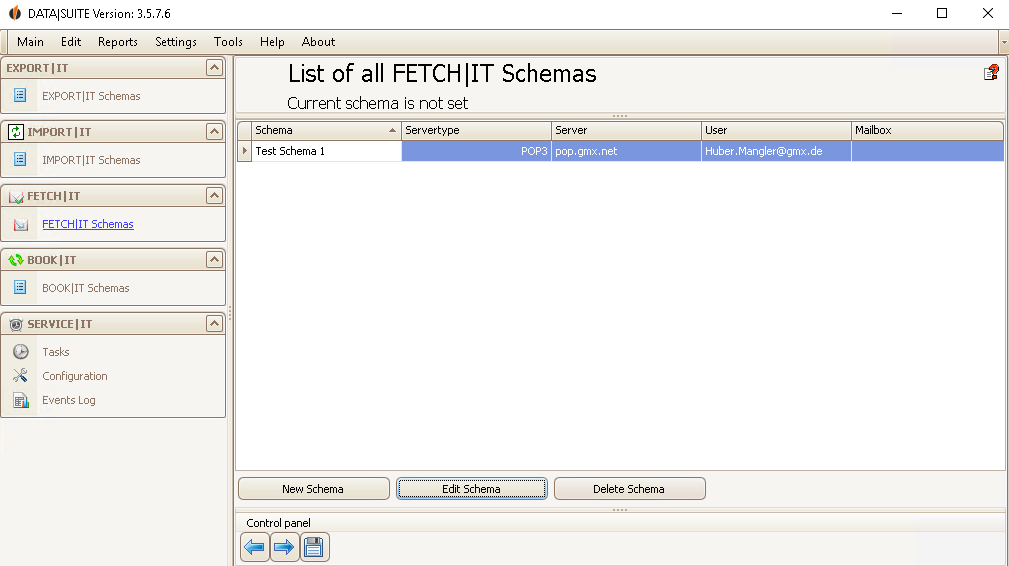
Now you see the list of FETCH|IT schemas: