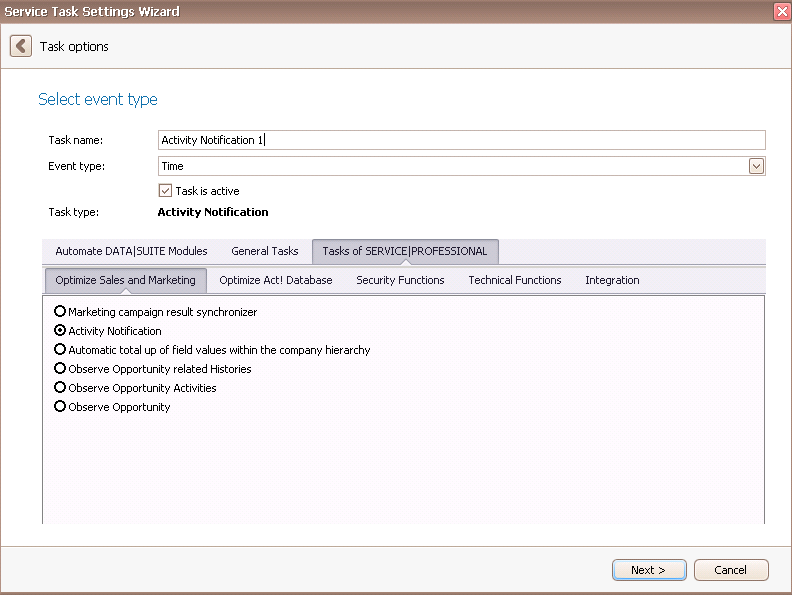
Once you have set the task type Activity Notification you click on Next.
You will get to the schedule options. Continue reading in the Trigger Time / Trigger Task chapter to find out how to proceed.
Click on Next.
The following window will open:
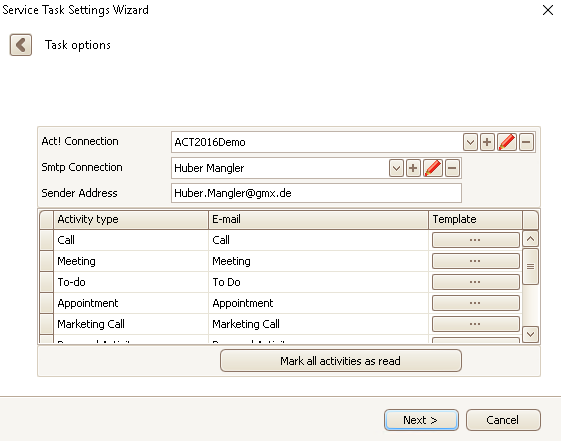
First you choose an Act! connection. You can find out more about this in the chapter Connect DATA|SUITE with Act!.
Then you create an SMTP connection. If you have already created one you can open the dropdown list with the  symbol and choose it. In order to create a new one you click on the
  symbol. The following dialog appears:
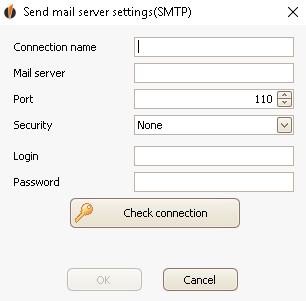
First you enter a connection name which makes it easy for you to recognize it later. Then you type in the mail server, the port, the login and the password. You can request this information from your e-mail provider. In the end you choose a security type and click on Check connection.
As soon as the connection could be established successfully you will be able to click on OK.
You get back to the options dialog again. Existing SMTP connections can be edited with the  symbol and deleted with the
  symbol.
Next you enter the e-mail address you just configured as a Sender address.
In the section below you choose the Act! activity type together with a corresponding e-mail title. With a click on the  button you open a window where you can create an e-mail that will be sent when an activity of that type is created:
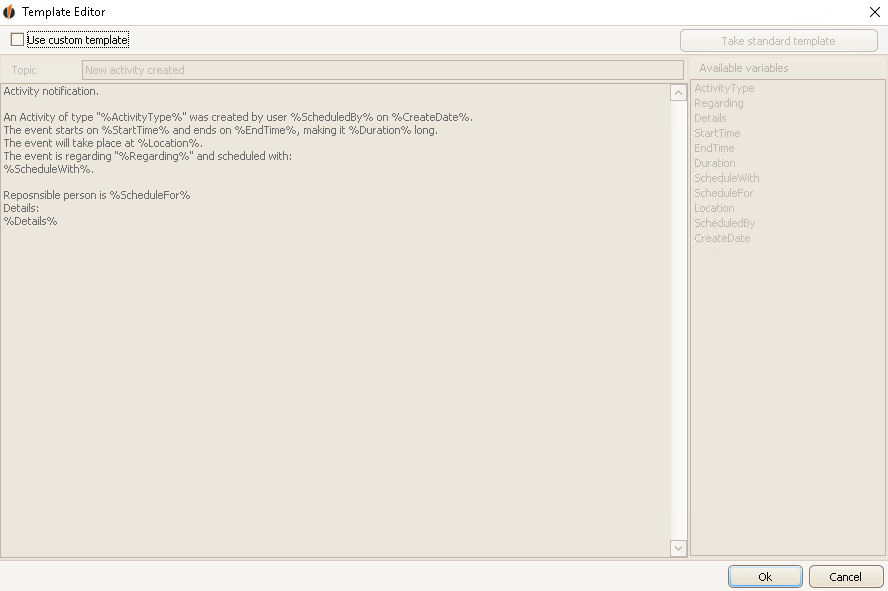
Tick Use custom template in order to edit the default template.
You can edit the topic of the e-mail as well as the content. On the right side you can see the variables you can insert. Those will change depending on the specific activity. In order to get the default template back click on Take standard template.
Once you have set everything according to your wishes you click on OK.
Please repeat this step for every row.
You can also use the button Mark all activities as read.

Click on Next when you are done.
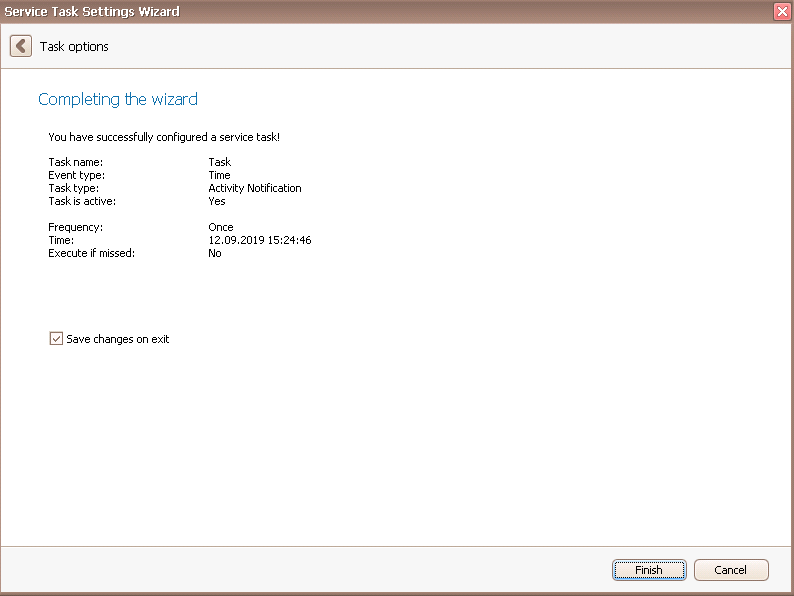
In the end you click on Finish. You successfully created an Activity notification task.