You can allocate sub tables to a main table in Act!. You need at least two tables for that. If you create a table relation it is for the entire table, not for individual fields of the table.
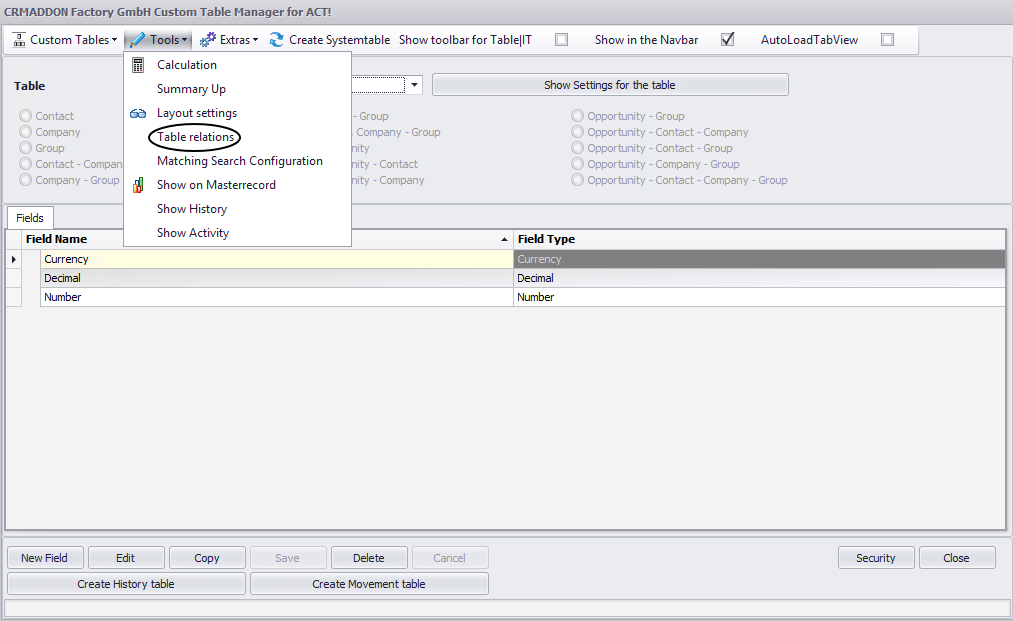
Go on Tools > Table relations in the tool bar of the TABLE|IT Table Manager to access this feature:
This dialog will open:
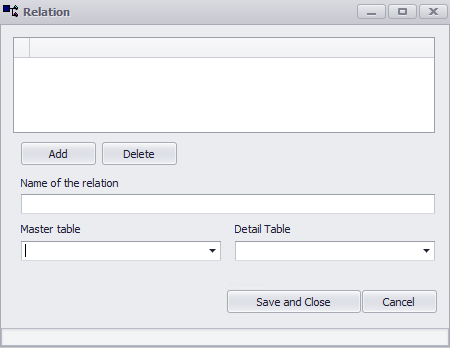
Enter a name for the table relation under Name of the relation (1). Then choose the master table (2) as well as the detail table (3) from the dropdown lists. After that you click on Add (4) to apply the changes. In the end you go on Save and Close (5).
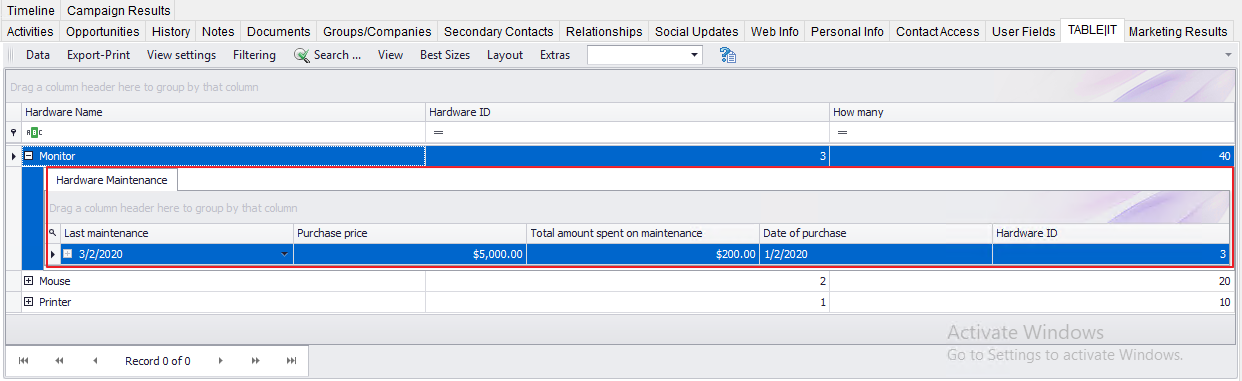
Now you need to open the main table in Act! (see: Where can I find my table in Act!?). Your sub table appears below a data record if you click on the  symbol in front of it.
You can add data records to your sub table by clicking on Data > Add Detail Record in the tool bar for your table:
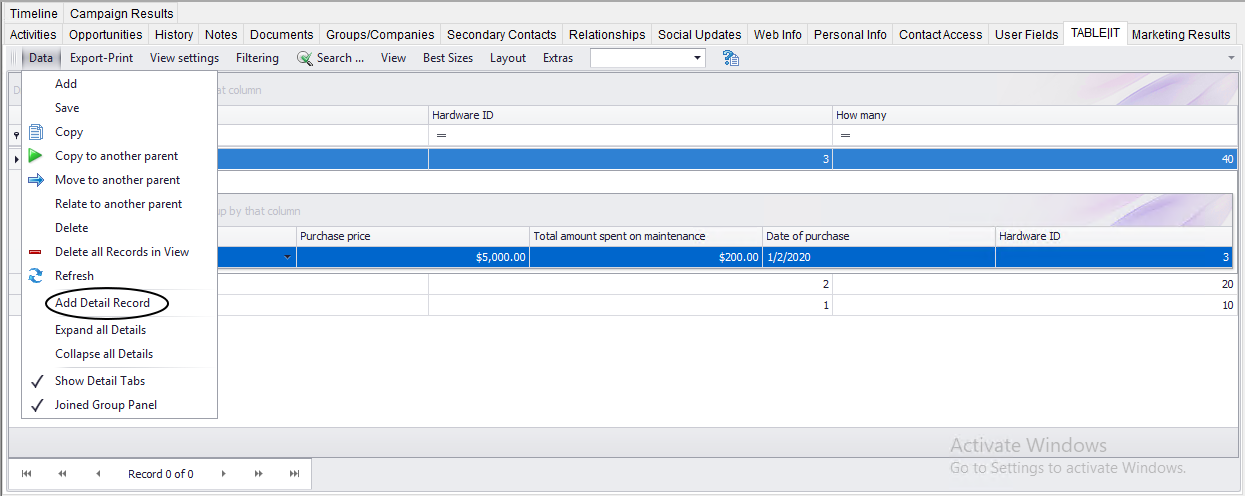
You can add detail records for each record of your main table individually.
