After downloading and opening DIAL|IT, the following window will appear:
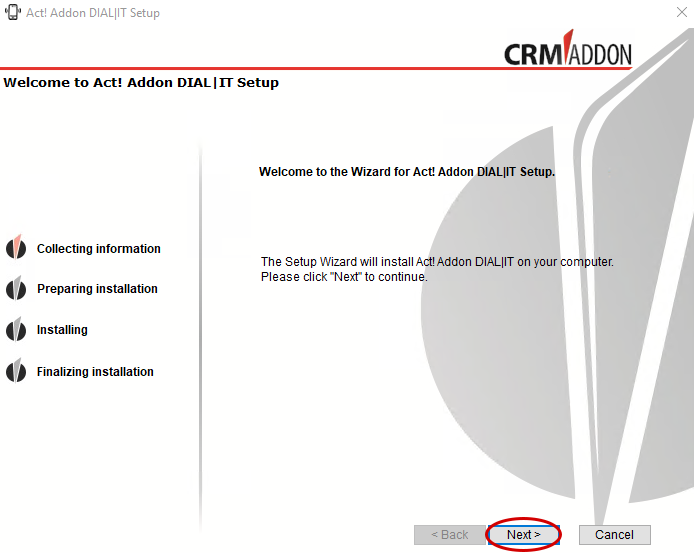
Click Next. The Setup Wizard will guide you through the installation.
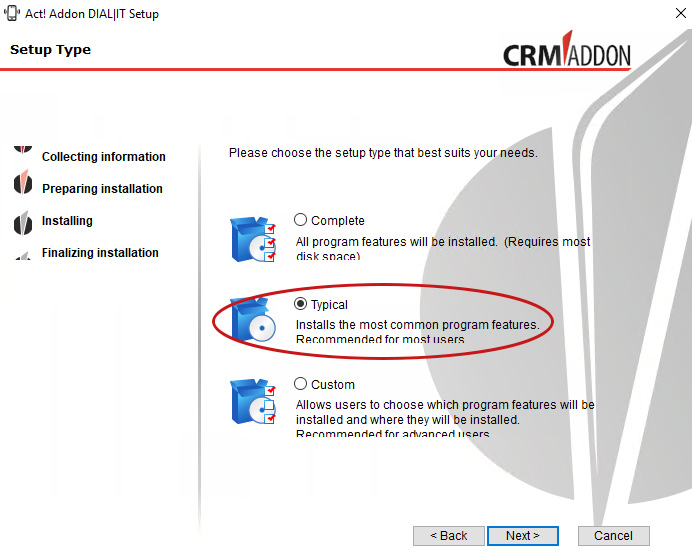
In this window, select the appropriate installation type "Typical" and click "Next" again.

Now select for whom you want to install Act!, either for yourself only or for all users. Then go to "Next".
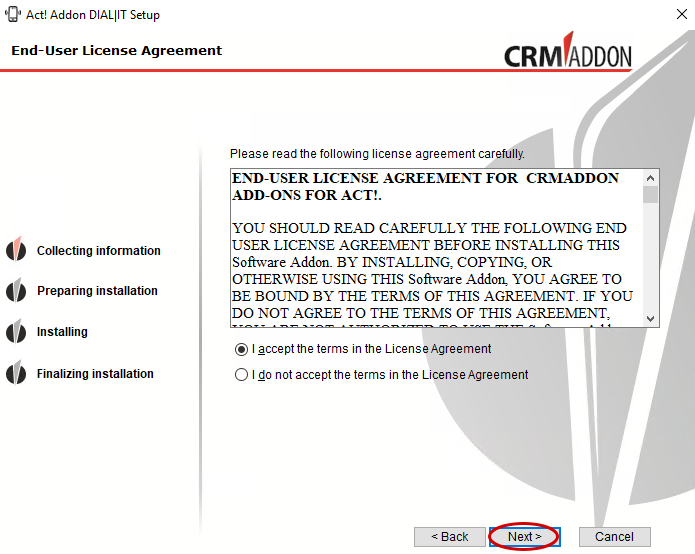
Read the license agreement carefully. Then select "I agree to the license agreement" and click Next.

If you want to perform the installation now, click Install.

The installation will now be executed.
Wait until DIAL|IT has finished the installation. Click Finish.

It will automatically open a web page where you can find out how to contact support or where to ask questions.
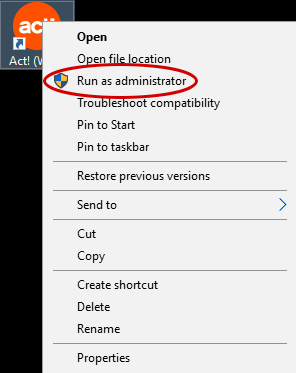
Now you can access the software in Act! Right-click on the Act! icon and go to Run as administrator:
You also need a TAPI Connection.
While Act! is loading, the following window appears:
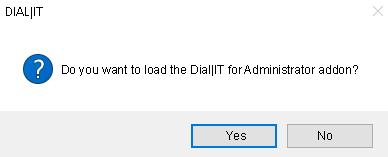
Now go to Yes. The licensing window opens:

In the next chapter Licensing you will find out how to license DIAL|IT.
