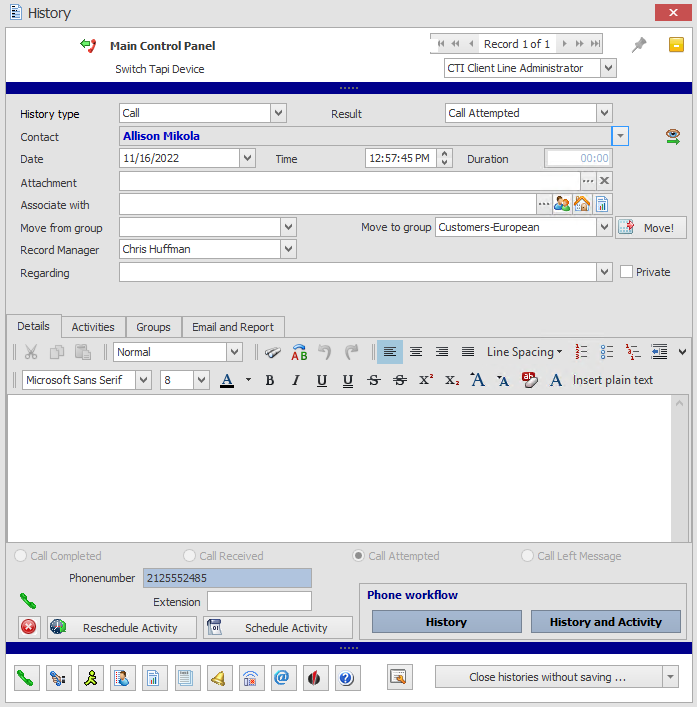
The history window appears as soon as you start a call or receive a call, provided of course that you have activated this function in the configuration.
You also need to know that the call to contacts should work. Otherwise, most of the functions will be grayed out for you and you won't be able to do anything with this window. Below you can see how it should not look:

With the pin symbol in the upper right corner you cause that the window always comes to the front after some time, even if you minimize it for example.
First you can change your TAPI device in the history window if you want to.
Below the blue line you see the classic settings for a history in Act! First select the history type:

After that, there are different results depending on the history type:

If you call a specific contact yourself, it will be listed in the line below. In case of an incoming call, you have the possibility to search for the corresponding contact for the phone number using the history window  icon. If a match was found, the contact will appear in the line:

Next, enter the date and time of the history. By default, DIAL|IT has today's date and time listed here.
The duration of the phone call is automatically recorded, so you cannot make any changes here.
If you want to attach a file to the history, click on the three dots behind Attachment

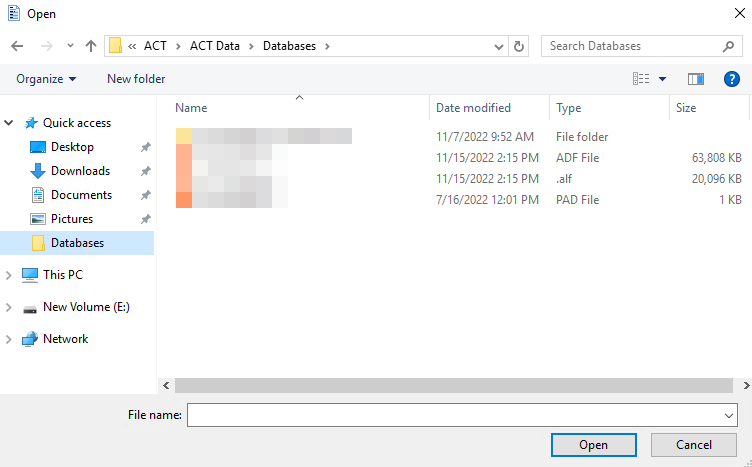
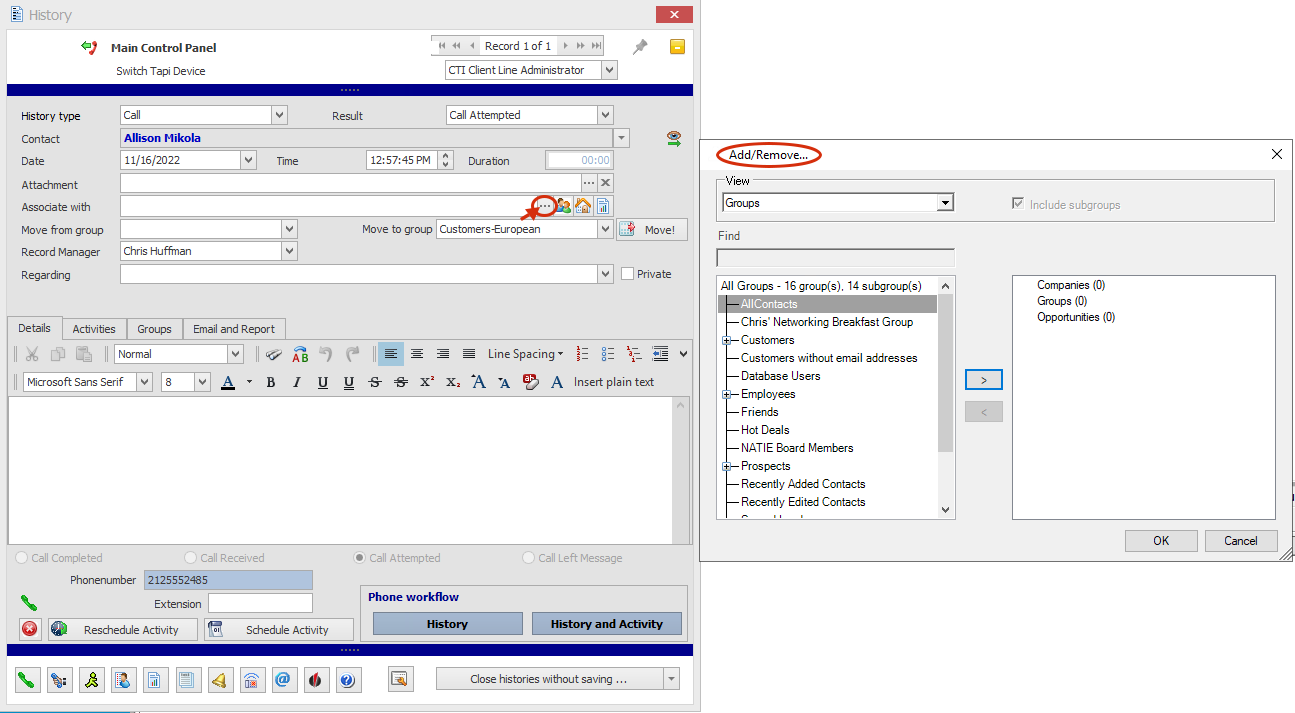
This dialog appears, select the desired file and then go to Open. Next, there is an option to link the history to groups, companies or opportunities. To do this, go to the three points:

The following window appears:

Under View you can choose between Groups, Companies, Group List, Company List and Opportunities. With the option Companies/Groups the companies/groups are displayed in their existing structure; it is therefore recognizable whether a group is a subgroup or a company is a subsidiary. With the Company list/Group list option, the companies/groups are only sorted alphabetically, so you cannot tell if a group is a subgroup or a company is a subsidiary.
Click on the groups, companies or opportunities you want to link to the history in the bottom left corner and then go to the arrow button to move them to the right. You save your selection by clicking OK.
In the history window you can also initiate the addition to a new group, for example, if during a conversation a prospect becomes a customer. To do this, select the desired group from the list and then click the  button.

Next, select the record manager for this history.

Enter a subject for the history or select a predefined subject from the drop-down list. You also have the option to mark the history as private.

There are four tabs at the bottom of the history window: Details, Activities, Groups and Email and Report.
1. tab details
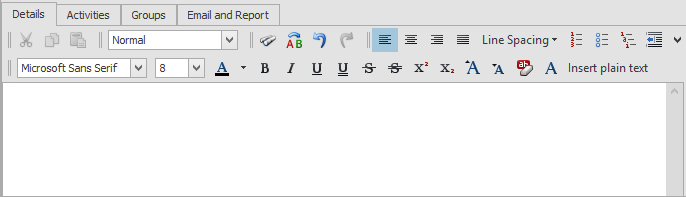
In the lower area of the window, you can enter details about the telephone call. A selection of text editing functions is available for this purpose.
2. rider activities
Next to it you will find the Activities tab:
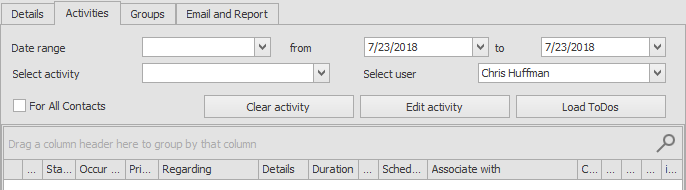
If you select a date range, all activities with the contact with whom you are or have been in conversation appear further down. You can limit the types of activities displayed under Select activity and select a user. There is an option to display not only the activities with the current contact, but those for all contacts.
You can delete or edit selected activities by clicking the corresponding button. You refresh the view when you go to Load ToDos.
3. rider groups
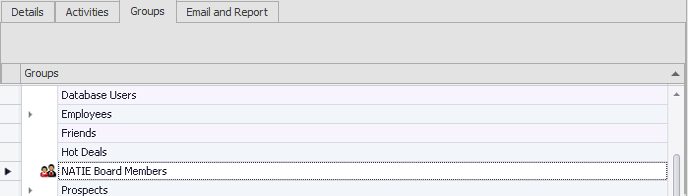
Here you can see a list of all existing groups. The groups the selected contact is a member of are marked with the history window  icon.
icon.
4. email and report tab
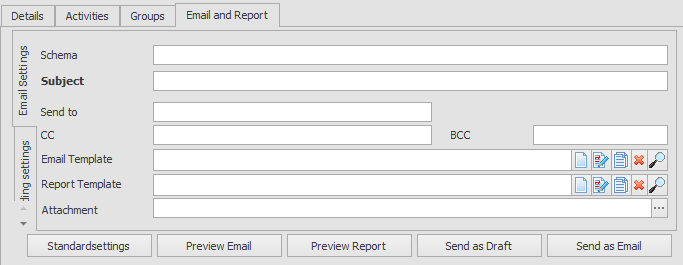
In the lowest section of the history window it is automatically filled in whether the call was completed (for this the duration of the call must be at least one minute), a call was received, a call was attempted or a message was left, for example on the answering machine.
LabelControl1 displays the phone number you called or from which you were called. You can manually add an extension number if the person you are talking to on the phone gives it to you.
With the  icon you can call the caller back after the call if there is a need for it.
If you click on Schedule activity, the following dialog appears

With the pin icon in the upper right corner you cause the window to always come to the front after some time, even if you minimize it, for example.
Select the activity type, as well as the start date, start time and duration of your activity. You can also mark the activity as timeless.
Banner use function...
For the date of the activity, there is also the possibility, through the direct links below, to set it to in a certain number of days, minutes or hours.
Below you will see the contact of the history window. If you want, you can also customize this selection by opening the dropdown list:

When the Select contact option is selected, this window appears:
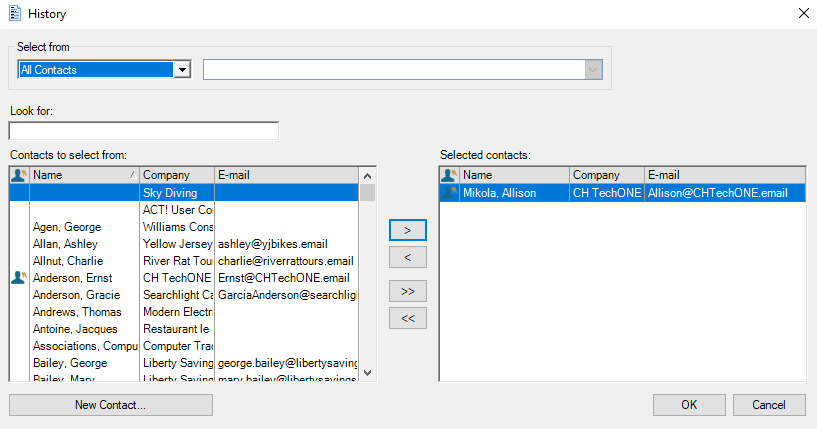
There, as you wish, move contacts to the selection on the right and then go to OK.
At the New contact option you will see the following window:
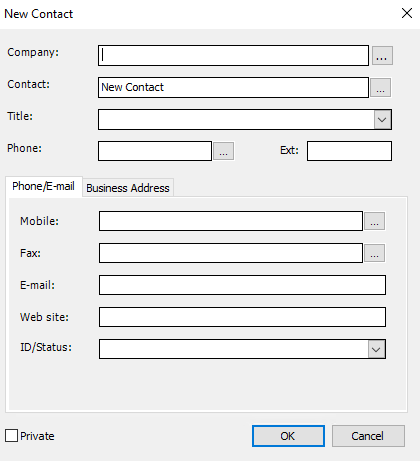
You can enter all the data for your new contact here. Then go to OK.
It is also possible to select your personal record or the current contact.
By clicking on the three dots at Link to you will open a window where you can select specific groups or companies to link them to the activity.
After you have selected them, click OK.
With the  icon you can expand the contact selection above with the contacts of the groups selected in Link to and with the
  icon you can do the same for the companies selected in Link to.
Document icon...
Then select the Schedule for contact and enter a subject or select one from the dropdown list. You can also customize the priority of the activity as well as the color scheme of it.
If you want, create an alert to remind you of the activity by selecting from the dropdown list how many minutes or hours before the activity you want Act! to remind you.
You can also add an attachment to the activity. On the bottom left, check Private if you want to mark the activity as such. Click on Activity Conflict to check if the activity you want to create conflicts with another appointment.
When you are satisfied with everything, go to OK.
Finally, in the History window, click either History - in which case your history will be created directly - or History and Activity - in which case your history will be created and a window for creating an activity will appear. Edit this as previously described.
