1. "Representation" tab

Here you have the possibility to set which DIAL|IT symbols should be displayed in the contact and company detail view or in the contact and company list view. Place a check mark next to the views in which you want to have the specific icon. There is the DIAL|IT contact call, the call from clipboard, the DIAL|IT ToDos, the DIAL|IT report, the function to call the last contact, the DIAL|IT contact list, the access to the DIAL|IT configuration and the possibility to send emails directly.
You can also choose a layout and a default font in the addon settings. For the layout, simply open the drop-down list and click on the desired design. For the font, go to the three dots behind Select font. The following window appears:

Set the font, font style and font size. After that, you have the option to display the text as strikethrough or underlined and to select the script. Finally, click OK.
Furthermore, you can reset user-related window settings.
2. "More settings" tab
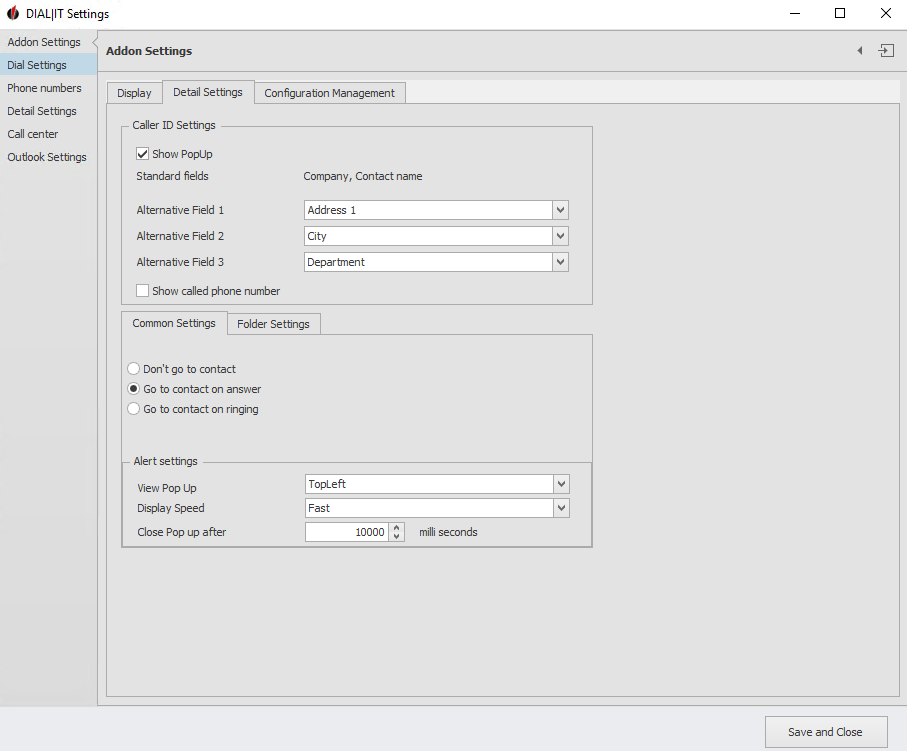
In the TAPI Setting section you can select if a popup window should be displayed when you get a call. If you want to use this feature, select the Act! fields that will appear in this window. The company and contact name are already preset. Examples of alternative fields are the address, city or department of the calling contact. You also have the option to display numbers called by you.
In the General settings section you decide whether DIAL|IT should not go to the contact on an incoming call, whether it should only show the contact details when the call is answered, or whether it should show the contact on every incoming call. You also have the option to edit the alert settings. Select the display location of the screen pop from the dropdown list, as well as the display speed and after how many milliseconds the screen pop should be closed again.
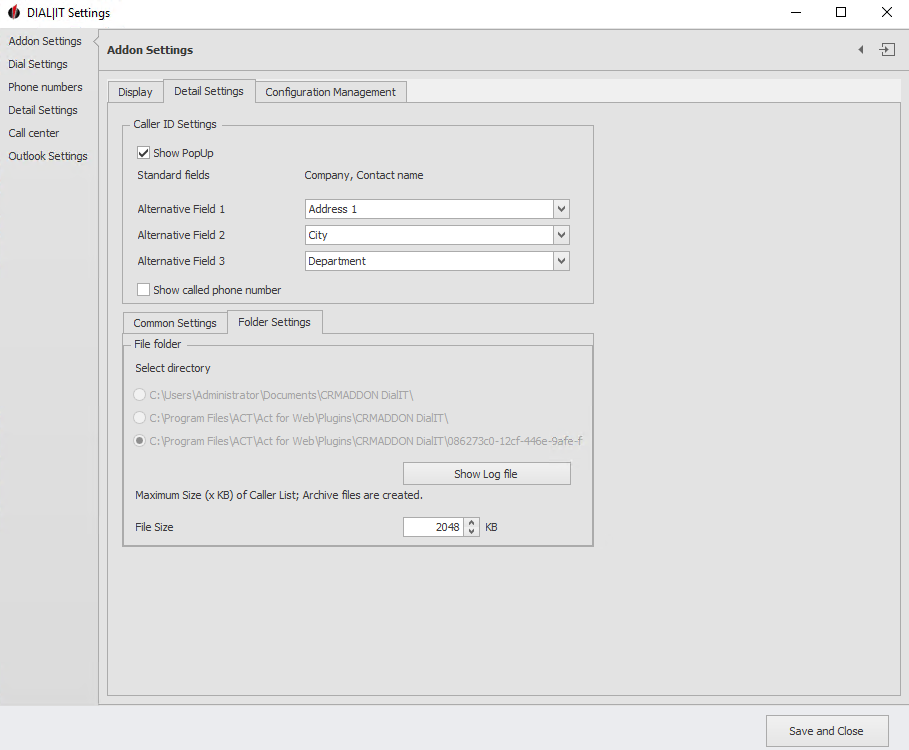
In the Directory Settings section (another tab next to General Settings) you can see the location of your DIAL|IT documents. You can also view the log file for the addon and limit the size of the file containing the DIAL|IT caller list:
3. configuration management tab
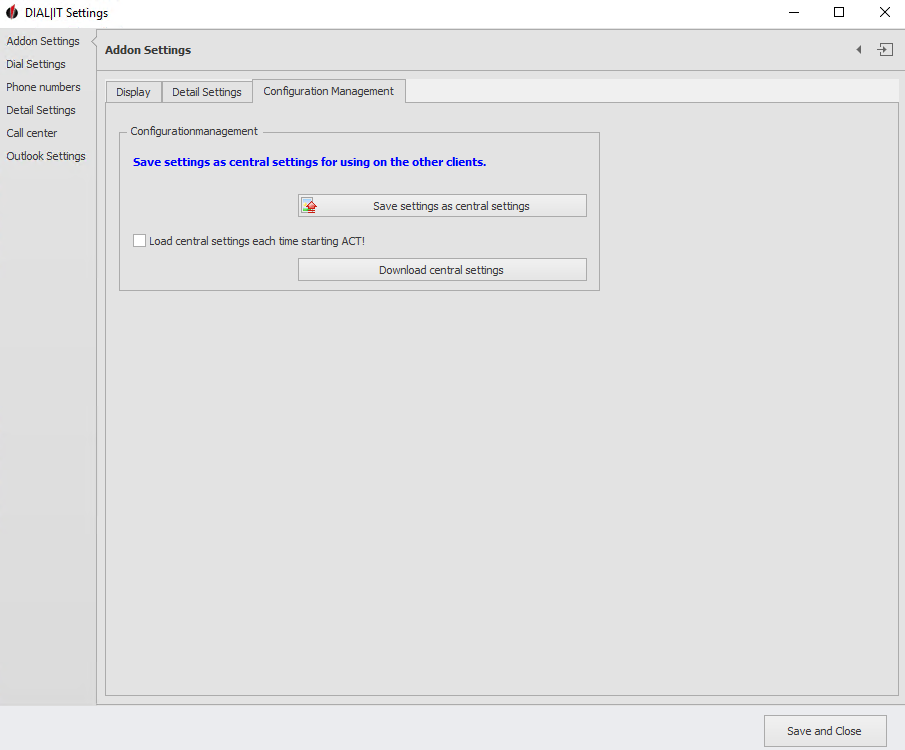
You have the option of saving the settings you make here as central settings, so that these are then also available to other clients. With the Download central settings button, other users can then apply these settings. To apply the changes, you must restart Act!
Next go to the TAPI settings or to Save and Exit when you have finished your configuration.
