You can upload a backup of your Act! database to an FTP server.

Once you have set the task type Upload backup to FTP Server you click on Next.
You will get to the schedule options. Continue reading in the Trigger Time / Trigger Task chapter to find out how to proceed.
Click on Next.
The following window will open:
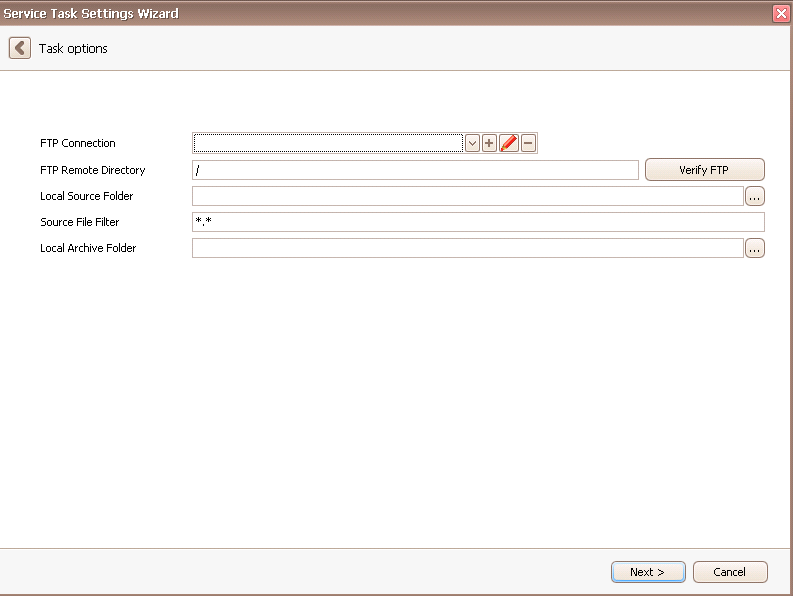
Open the dropdown list next to FTP connection to select an already installed FTP connection. You have the possibility to remove already existing connection by choosing it and then clicking on the "-" symbol. With the pen symbol you can edit an existing connection and with the "+" you can create a new one. If you want to edit or create a connection the following window appears:

Enter a connection name, a port and a host. You can also decide if you want to use the Passive mode. Then you state the Login and the Password. If you want to use SSL you need to tick the particular option. You choose the type of SSL in the dropdown list.
Now you click on Verify FTP. A window appears that confirms that a connection could be created successfully.
You will get back to the old window. There you can enter the FTP Remote Directory, meaning the path to the folder where all of the files you want to upload will be saved. With a click on Verify FTP you make sure that this path does indeed exist. After that you pick a Local Source Folder you want to upload data to your FTP server from. Under Source File Filter you can enter certain phrases that need to occur in your source file. In the Local Archive Folder the files that were uploaded are saved. That way you have an overview over all of the files SERVICE|IT uploaded to the FTP server for you.
Then you click on Next. The following window appears:
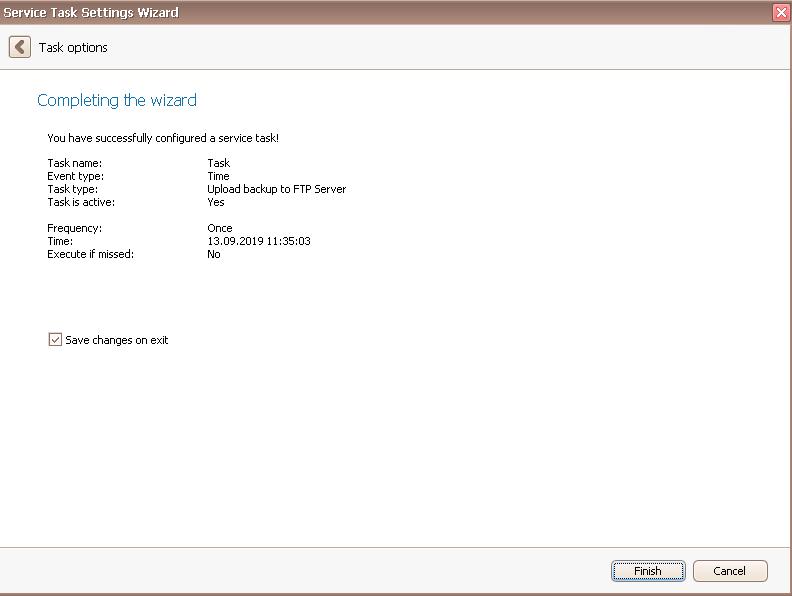
In the end you go on Finish. You created a task for uploading a backup of your database to an FTP server!
