With Microsoft Outlook integration, every e-mail sent is automatically recorded in Act! and contacts are synchronized.
For example, if you don't have time to create an Act! history entry, the Outlook plugin will automatically create an Act! history for you.
Please note that only emails sent or received via the default Outlook email address will be attached here. For all other e-mails we recommend our addon EMAIL|IT.
The important features are:
•Create new contacts from emails
•Automatically create entries in Act! histories
•Plan Act! activities with your email contacts
•Attach emails to contacts automatically
•Synchronize contacts and calendars between Outlook and Act! database
This integration requires an additional component that you need to download and install.
The important thing here is that Act! must not be installed locally on the computer. This has to do with a .dll file, which can only be used once.
If other programs, including the Act! Windows version, are already installed, problems with the Outlook Plugin for Act! for Web may occur.
To learn how to remove the Outlook plugin manually, click here: Remove ACT! Premium Web Outlook Integration manually
Please also make sure that all Office programs are closed before the installation so that an error-free installation is performed.
|
If your database has multiple users, each user must INDIVIDUALLY download and install the Office integration and configure their own preferences individually. In order for everyone to use the integration with full features, the system administrator must give admin rights, which can be removed later. You can learn more about admin rights here. |

Outlook Plugins Integration
1. log in to Act! for Web.

2. after you have logged in, click "Text" on the menu tab and then click "Download Microsoft Word Integration".

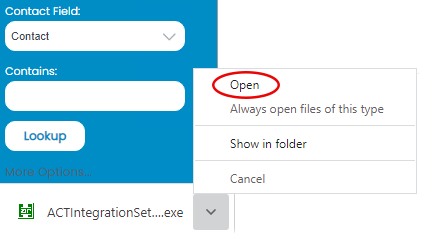
3. the click will automatically download the integration, wait until it finishes downloading and then "Open" it.
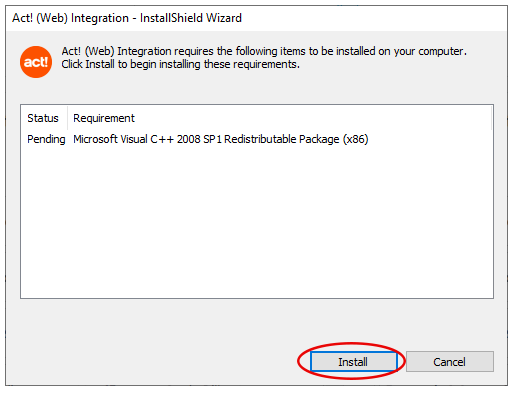
4. then this window will open, click "Install" here.
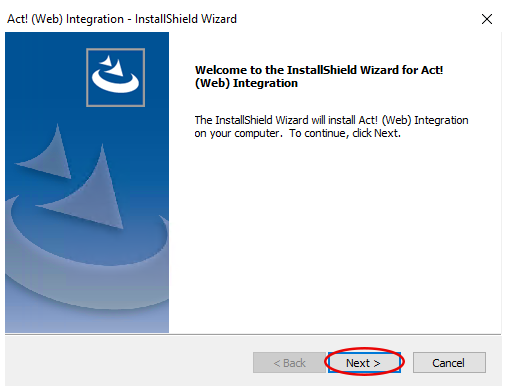
8, After the plugin has been installed, this window will open and you can click on "NEXT".
9. Click on "Next" again.

10. now the installed software of Act! for Web Integration is configured.

11. at last you need to click "Finish".

