This is the field list:

By default, you will see the report explorer in this section. To get to the field list you click on the particular button in the lower right corner.
With a click on the arrow buttons in front of Activities and Contacts you open the complete lists.
You can move the individual fields to the display window via drag and drop.
The following menu opens with a right click:

Click on Add Calculated Field to create a new field. This will then appear at the end of the list. Right click on it and go on Edit Calculated Field. The following window appears:
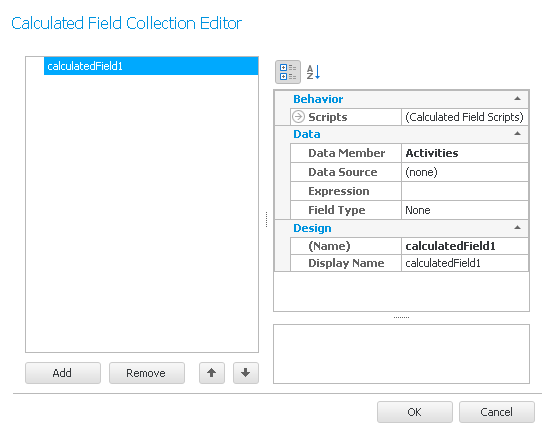
On the right side you see the configuration options. Click on Expression and then on the three dots next to it:
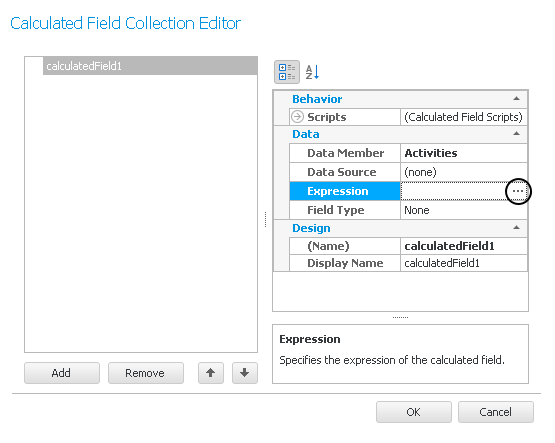
This dialog opens now:

You have functions, operators, fields, contants and parameters to create an expression for this new field. Click on OK once you are done.
 Continue reading in the chapter How to: Display Fields in Caps if you want to display the country from Act! in caps, for example.
Next, you choose a data member. For that, click on the particular field and then on the arrow that appears next to it:
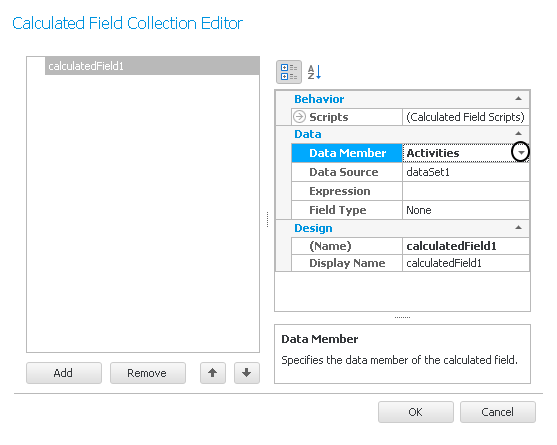
You will now see the list of fields. For data source you open the dropdown list as well and click on dataSet1 which is the connection to Act!.
Furthermore, you can change the name of the calculated field. Once you set everything click on OK.
Via a right click on the calculated field you have the possibility to edit the expression directly or to delete the field.
In case you want to remove all of the calculated fields right click on any other field and then go on Remove all calculated fields.
These were all the features of the list of fields.
